Waxing
Leg Waxing Guide: Full vs Half Leg Wax and What to Expect

Quick answer
A half leg wax usually covers ankle to knee, and a full leg wax covers the whole leg up to the top of the thigh. What is included varies by salon. Hair should be about a quarter of an inch long. Soft strip wax suits most of the leg, and hard wax suits sensitive zones. Avoid shaving between appointments.
Leg waxing is the service most people picture when they think of body waxing, and it is usually the first large area a waxing student learns. The legs are forgiving compared with the face or the bikini line: the skin is thicker, the surface is broad and mostly flat, and the hair tends to grow in a readable pattern. That does not make a leg wax automatic. The knees, the ankles, the back of the thigh, and dry winter shins each have their own behavior, and the difference between a smooth result and a patchy, bumpy one comes down to preparation, wax choice, and how the skin is handled during removal. I have been a licensed cosmetologist and electrologist for more than twenty years, and legs are still the area where I see the widest gap between a rushed service and a careful one.
This guide is for two readers. If you are a client, it explains what to expect from a full leg wax or a half leg wax, how long hair should be, what the appointment feels like, how to look after your legs afterward, and how to judge whether waxing at home is a reasonable idea for you. If you are a waxing student, it walks through the same service from the practitioner's side: sectioning, direction of growth, skin support, and the mistakes that show up again and again in the practice room. Everything here is general education. It is not medical advice, and anything involving a health condition or a medication belongs with your physician or dermatologist before it belongs on a waxing table.
Full Leg Wax vs Half Leg Wax: What Each Usually Includes
A half leg wax most often means the lower leg: from the ankle up to the knee. Some salons also offer an upper half leg, which covers the thigh from above the knee to the top of the leg. A full leg wax combines both, so the hair is removed from the ankle to the top of the thigh, front and back. That is the general pattern across the United States, but the details are set by each business, not by any shared standard. The service menu is a description written by the salon, and two salons a mile apart can mean slightly different things by the same two words.
The knee is the most common point of confusion. In many places a lower half leg includes the knee, because stopping exactly below it leaves an obvious line. In others the knee belongs to the upper half or to the full leg only. Feet and toes are similar: some menus include the tops of the feet and the toes in any leg service, and others list them as a small separate add-on. The upper boundary of a full leg wax also varies. It normally stops at the crease where the leg meets the body and does not include the bikini line, which is booked as its own service. If you want both, say so when you book, because the practitioner needs to plan the time and may use a different wax for the bikini area.
Which one should you choose? Look at your own hair, not at the menu. Many people have noticeably coarser, darker hair on the lower leg and only fine, light hair on the thigh. If you never shaved your thighs and the hair there does not bother you, a half leg wax is a sensible choice, and I often tell clients not to start removing fine thigh hair they were happy with. If you have shaved the whole leg for years, the thigh hair is probably blunt and visible, and a full leg wax will give a more even look. The only honest answer on time and price is that both vary by salon, by region, and by how much hair there is, so ask when you book.
How Long Hair Should Be and How to Prepare
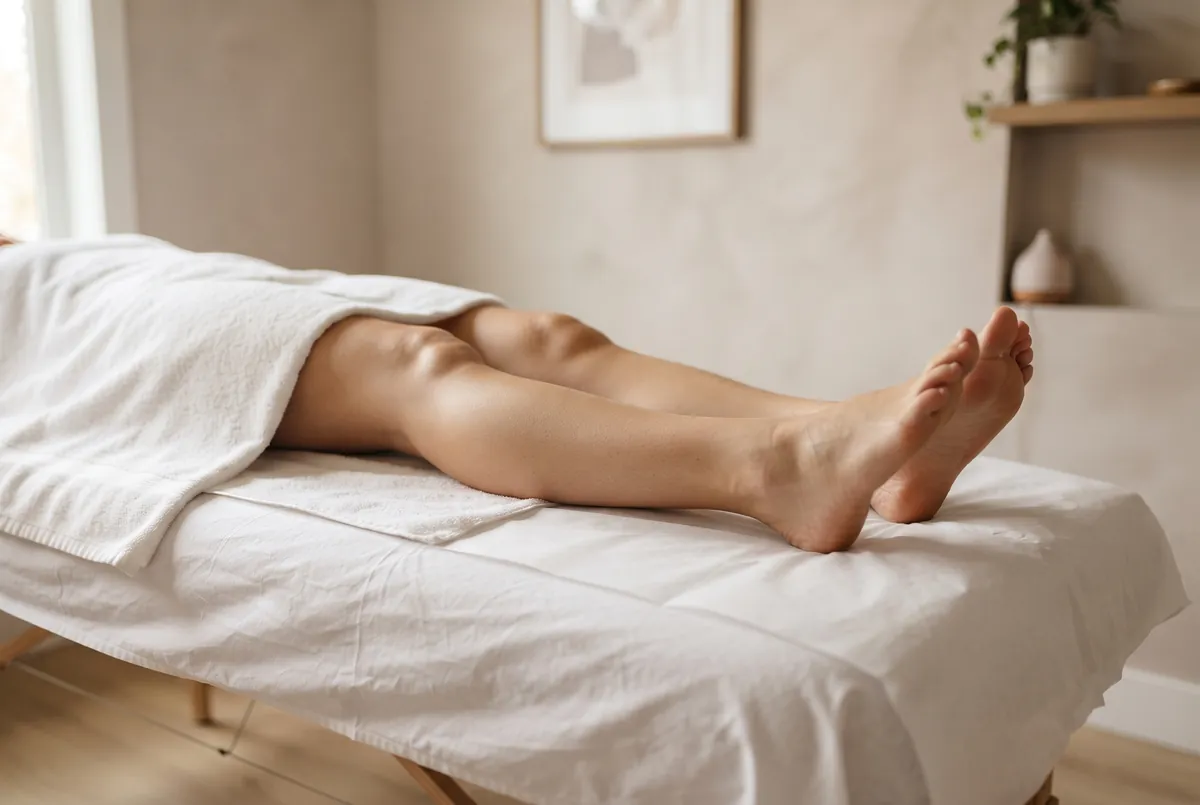
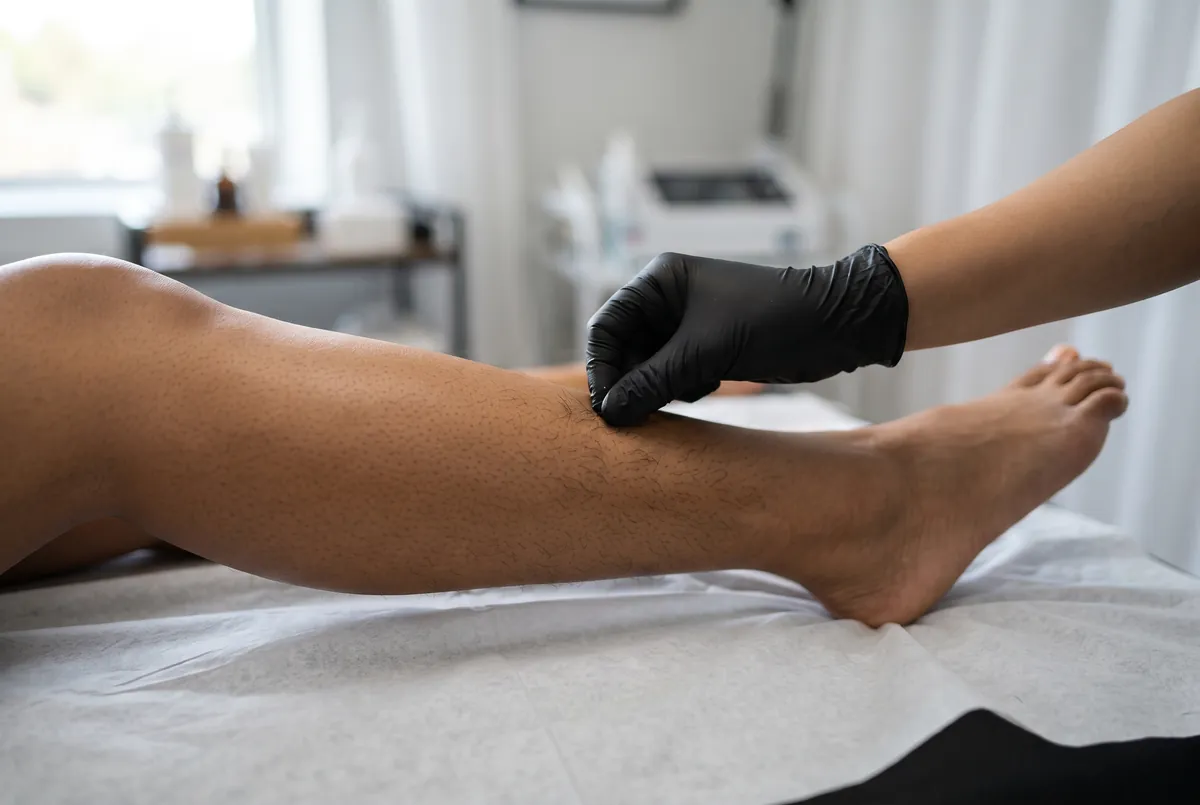
Wax needs something to hold. The guideline most practitioners use is hair around a quarter of an inch long, often described as the length of a grain of rice. Shorter than that and the wax cannot grip well, so hairs are left behind or snap at the surface. Much longer and the hair lies flat and tangles in the wax, which makes removal more uncomfortable and less clean. If your leg hair is very long, a practitioner may trim it with clippers before starting. Do not trim it yourself right before the appointment unless you are sure of the length, because cutting it too short is the more common mistake.
If you currently shave, the practical question is how long to wait after your last shave. That depends on how fast your hair grows, and it differs from person to person, so I prefer to give clients a test instead of a number of days: pinch a hair between two fingertips. If you can hold it and tug gently, the wax can hold it too. If your fingers slide off, wait longer. Growing it out is the least pleasant part of switching from shaving to leg waxing, and it helps to plan the first appointment for a cooler stretch of the year, when legs are covered anyway.
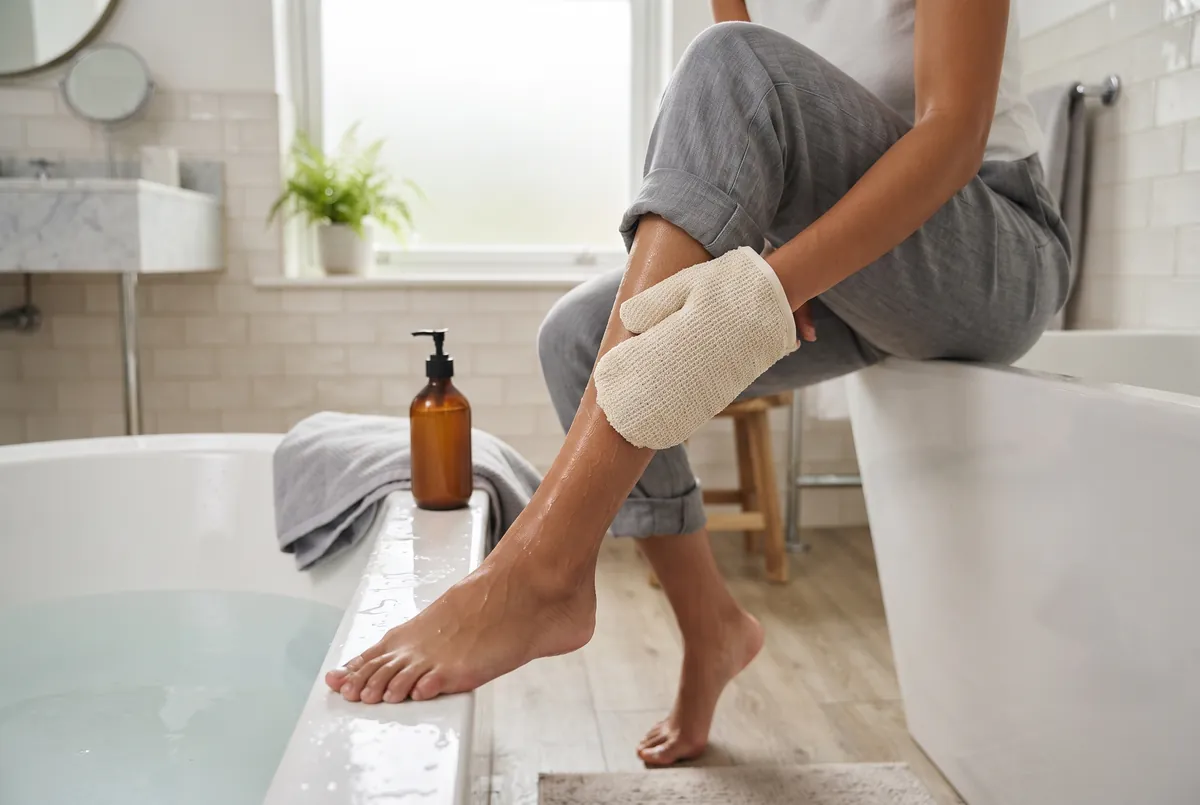
Preparation in the days before is simple. Exfoliate the legs gently a day or two ahead, with a washcloth, a soft mitt, or a mild scrub, so that dead surface cells do not trap short hairs under the skin. Do not exfoliate on the day itself, because freshly scrubbed skin is more reactive. Moisturize normally during the week, since supple skin releases hair more easily than dry, flaky skin, but skip lotion, body oil, and self-tanner on the day of the appointment. Oil on the surface stops wax from adhering, and fresh self-tanner will come off in stripes wherever the wax touches it. Arrive with clean, dry legs, wear loose clothing that will not rub afterward, and mention any new medication or skin treatment.
Soft Strip Wax vs Hard Wax on Legs
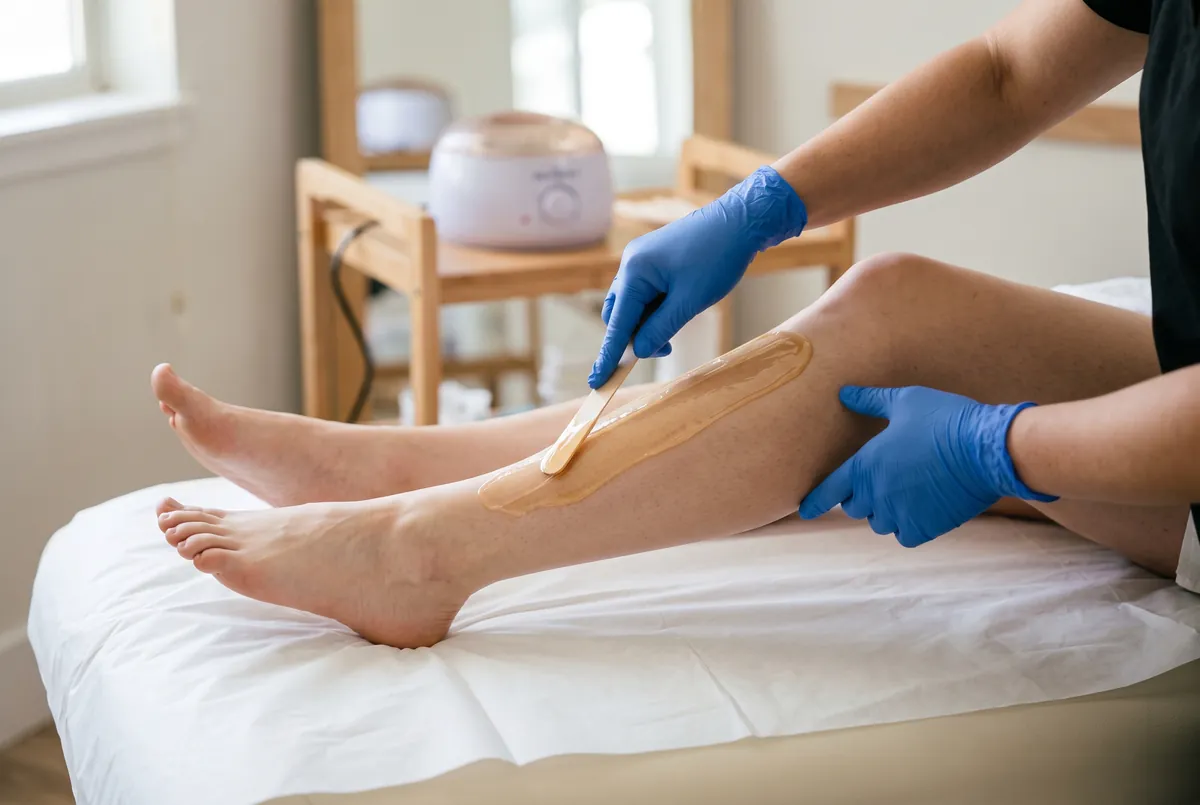
Two families of wax are used on legs. Soft wax, also called strip wax, is spread in a very thin layer and removed with a cloth or paper strip pressed on top. Hard wax, also called stripless or film wax, is applied thicker, left to set until it is firm but still flexible, and then lifted off by its own edge. Soft wax adheres to both hair and the outermost surface cells. Hard wax shrinks around the hair as it sets and holds the skin much less. Each property is useful in the right place, and a leg has room for both.
For most of the leg, soft strip wax is the traditional and practical choice. The shin, calf, and front of the thigh are large, fairly flat, and covered in skin that tolerates a strip well. Soft wax goes on quickly in long sections, uses little product, and picks up fine, short hair that hard wax sometimes misses. It also gives a light exfoliation, which is why legs look polished afterward. The trade-off is that soft wax should not be applied twice over the same patch of skin in one session, because the second pass has no surface cells left to take except living ones. Stragglers are handled with tweezers or a quick clean-up strip of fresh edge, not a full second coat.
Hard wax earns its place on the awkward and sensitive zones: the inner thigh near the top of the leg, the back of the knee, sometimes the kneecap and the ankle bone, and any client whose skin reacts strongly to strips. Because it grips the skin less, it can be reapplied to a spot with less risk, and many clients find it more comfortable on thin skin. On a whole leg, though, hard wax is slower and uses far more product, so a salon that waxes entire legs with it will usually reflect that in the booking time. Some practitioners prefer it anyway for very sensitive clients, and that is a legitimate choice. Technique matters more than the category of wax, and the differences, including sugar paste and roll-on cartridges, are covered in my guide to the types of wax used for hair removal.
A Professional Leg Wax, Step by Step
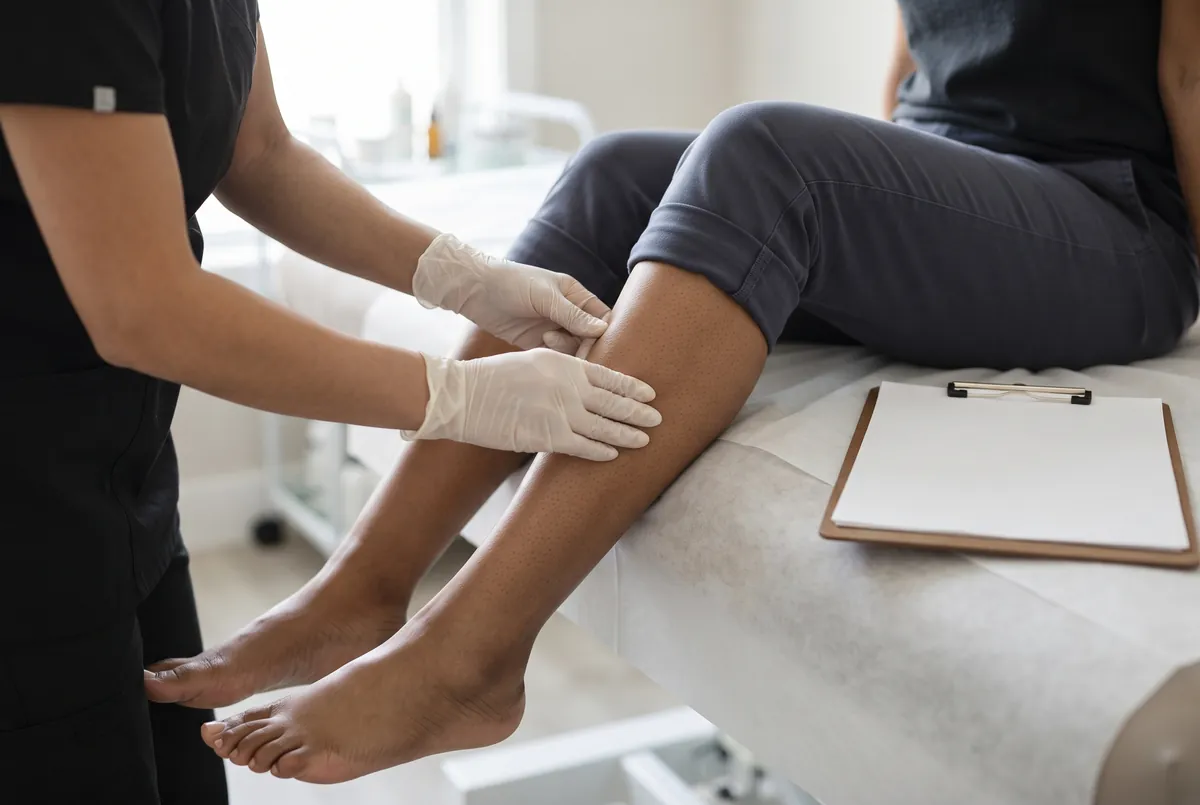
A professional leg waxing appointment starts before any wax is touched. The practitioner asks about medications, skin conditions, recent sun, and previous reactions, then looks at the legs under good light. This is the moment to notice cuts, insect bites, bruises, raised moles, visible veins, and patches of dry or irritated skin, and to decide what will be avoided or covered. Then the skin is cleansed with a pre-wax product to remove sweat, lotion, and surface oil. On strip wax services a light dusting of powder is often added, especially in warm weather, so the wax holds the hair and not damp skin.
The practitioner tests the wax temperature on the inside of their own wrist and then on a small area of your leg. Wax is applied in the direction the hair grows, with the spatula held at an angle so the layer is thin and even. On the shin, hair usually grows downward toward the ankle, so the wax goes on from below the knee toward the foot. A strip is laid over the wax, leaving a free end to hold, and rubbed firmly a few times in the same direction so it bonds to the wax. With hard wax there is no strip: the practitioner builds a slightly thicker edge to use as a handle and waits until the wax is set but still pliable.
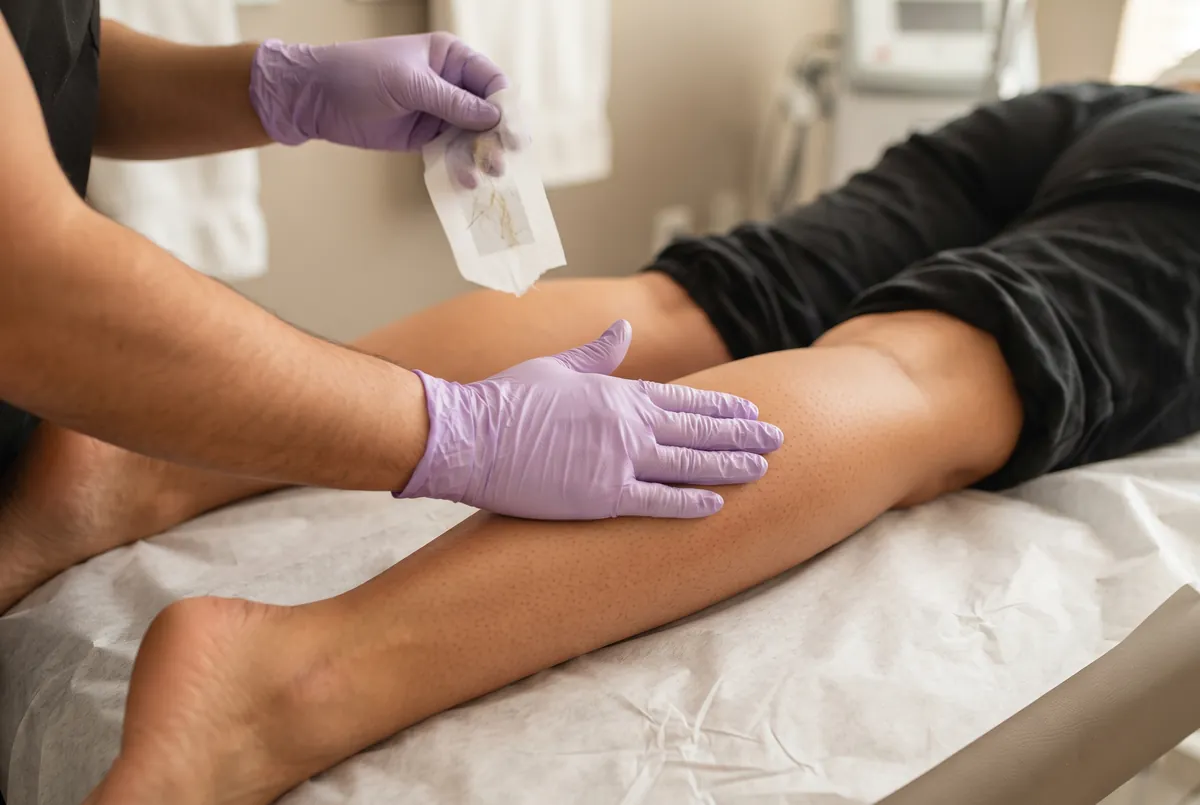
Removal is where technique shows. One hand holds the skin taut just beyond the free end of the strip. The other hand removes the strip against the direction of growth in one quick, confident motion, keeping it low and parallel to the skin, almost folding it back on itself. Pulling upward, away from the leg, is what causes bruising, broken hairs, and lifted skin. Immediately afterward the practitioner presses a hand firmly on the area for a moment. That pressure calms the nerve endings and takes much of the sting away. Then the next section begins, overlapping slightly so no strip of hair is left between two passes.
Sectioning keeps the service orderly. A common sequence, with the client lying face up, is the front of the lower leg, the outer and inner sides of the lower leg, the knee, and then the front and sides of the thigh on a full leg wax. The second leg follows in the same order. The client then turns face down for the calves, the backs of the knees, and the backs of the thighs. Some practitioners work both legs section by section instead of finishing one leg at a time. The order matters less than having one and repeating it, because a fixed routine is what stops whole areas from being forgotten.
When the hair is off, the practitioner checks the legs against the light from more than one angle, since fine hairs hide when viewed straight on. Stray hairs are removed with tweezers. Wax residue is dissolved with an oil-based post-wax product, because water does not remove soft wax. A soothing lotion or gel finishes the service. Good hygiene runs through all of it: clean hands or fresh gloves, a new spatula every time one goes into the pot (no double dipping), clean table paper, and disposable strips that are thrown away. If you see the same spatula return to the pot after touching skin, that is a reason to choose a different salon.
Knees, Ankles, and Other Tricky Areas
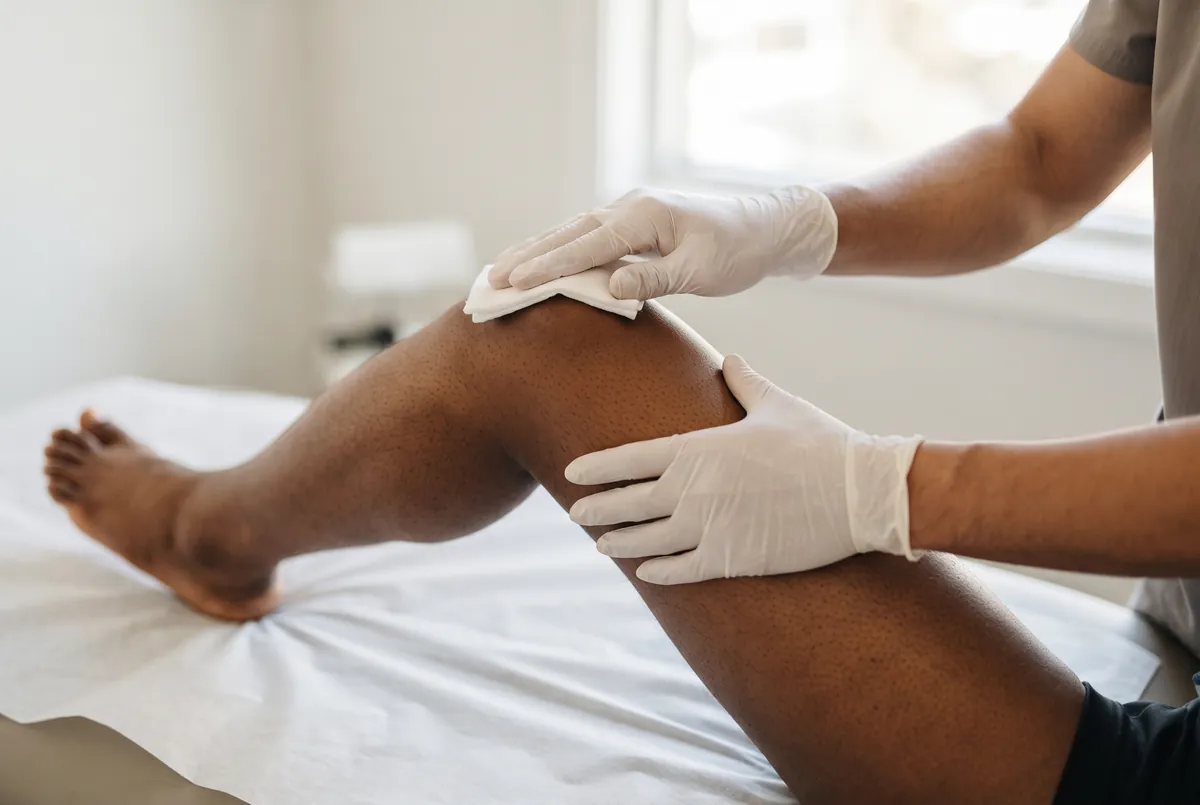
The knee is the part of the leg clients most often find missed at home later. With the leg straight, the skin over the kneecap is loose and wrinkled, and wax settles into the folds without gripping the hair inside them. The fix is to bend the knee. With the foot flat on the table and the knee raised, the skin stretches smooth, and the hair stands clear. The practitioner works in small sections around the kneecap, usually above, across, and below it, because hair here changes direction over a short distance. One long strip across a bent knee rarely removes everything cleanly.
The back of the knee is the opposite problem. The skin is thin, soft, and warm, and it bruises more easily than anywhere else on the leg. The client lies face down with the leg straight so the crease is open, and the practitioner uses small sections and firm support with the free hand. This is one of the places where I reach for hard wax, or at least a narrower strip and a lower temperature. Many people have very little hair here, and it is perfectly reasonable to leave fine, pale hair behind the knee alone instead of waxing it for the sake of completeness.
Ankles are bony and curved, and the hair often swirls around the ankle bone. The practitioner asks the client to point or flex the foot to tighten the skin over the front of the ankle and uses short strips that follow the curve. The Achilles area at the back of the heel needs the same care. On the feet and toes, hair grows toward the toes or slightly outward, and the sections are tiny. Because the skin over bone has little padding, firm support and a low, flat removal matter even more here than on the calf.
The thigh is where direction of growth stops being predictable. On the front it usually runs downward, but toward the inner thigh it often angles inward, and on the back of the thigh it commonly grows sideways toward the outer leg or in a diagonal sweep. A practitioner who assumes "down" everywhere will apply across the grain, and the hair will break instead of coming out with the root. Broken hairs feel smooth for a day and then reappear as stubble, which clients describe as the wax "not lasting". Reading the hair before each section, by looking and by stroking it with a gloved finger, prevents this.
The inner thigh needs extra support for a different reason: the skin is soft and moves with the strip. The client is usually asked to turn the leg outward, with the knee bent and dropped to the side, and may be asked to help hold the skin firm with their own hand. Sections are smaller than on the shin. Strips are never placed directly over a varicose vein, a raised mole, a skin tag, a bruise, or broken skin. Those spots are worked around, and a mole can be protected with a dab of oil or petroleum jelly so wax does not stick to it. Hairs growing from a mole are left alone unless a physician has said otherwise.
Does Leg Waxing Hurt, and How to Reduce It
Legs are among the more comfortable areas to wax. Most clients describe the lower leg as a quick, hot sting that fades within seconds, similar to pulling off an adhesive bandage fast. The shin and outer calf tend to be the easiest. The ankle, the knee, the back of the knee, and the upper inner thigh are more sensitive because the skin is thinner or sits directly over bone. A first leg wax nearly always feels stronger than later ones: hair that has been shaved for years is at its fullest, and the body has not learned what to expect. Regular clients often tell me that after a few visits the lower legs barely register.
During the service, breathing is the simplest tool. Breathe in as the strip is pressed down and breathe out as it is removed. Holding your breath and tensing the leg makes each pull feel sharper. Tell the practitioner if the wax feels too hot, because warm is correct and burning is not. Tell them, too, if one area is much more painful than the rest: they can switch to smaller sections, change to hard wax, or adjust the angle. A practitioner's own habits matter just as much, especially taut skin, a fast and flat removal, and immediate pressure afterward. Slow, hesitant removal is the most painful way to wax. My longer guide on whether waxing hurts and how to reduce discomfort covers each body area in more detail, and questions about pain relievers or numbing creams belong with your pharmacist or physician.
Aftercare for Freshly Waxed Legs
For the first day or two after leg waxing, every follicle that released a hair is slightly open and the surrounding skin is a little inflamed. Pinkness and small red dots where the hairs were are a normal response, and they usually fade on their own, faster on the shin than on the thigh. The goal of aftercare is to keep heat, friction, and bacteria away from the skin while it settles. That means lukewarm showers instead of hot baths, and no hot tub, sauna, or steam room. Skip the pool and the ocean for the same short period, since chlorinated or salty water on open follicles can sting and irritate.
Friction is the leg-specific issue. Tight jeans, compression leggings, and synthetic tights rub the thighs and hold sweat against the skin. Loose cotton or other breathable fabric is kinder for the first day. Hard exercise is best postponed until the next day: running and cycling combine sweat, heat, and repeated rubbing along the inner thigh, which is exactly where post-wax bumps tend to appear. Keep the sun off freshly waxed legs as well. The skin has just lost its outermost surface cells along with the hair, so it burns and marks more easily, and a tanning bed is out of the question. Keep products plain and fragrance-free at first. The full day-by-day routine is in my waxing aftercare guide.
Ingrown Hairs and Strawberry-Looking Pores After Waxing
Two skin complaints come up after leg waxing more than any others, and they are often confused. The first is the ingrown hair: a new hair that fails to exit the follicle cleanly and either curls back into the skin or grows sideways under the surface. On legs it shows as a small raised bump, sometimes with a dark line or loop visible beneath the skin, most often on the thighs and around the knees where clothing rubs. People with curly or coarse hair are more prone to it, and so are people with dry skin, because a layer of dead cells over the follicle opening blocks the fine new hair.
Prevention is mostly routine care. Once the skin has calmed, after the first couple of days, exfoliate the legs gently a few times a week and moisturize daily. A soft mitt or washcloth is enough for many people, and others do well with a body lotion containing a mild exfoliating acid, introduced slowly. Loose clothing in the first days helps. What does not help is digging at a bump with tweezers or a needle, which turns a small ingrown into a scab and often into a dark mark that outlasts it. For causes, treatment options, and the signs that a bump needs a doctor, see the dedicated guide to ingrown hairs after waxing.
The second complaint is what people call strawberry legs: a pattern of small dots at the follicle openings that makes the skin look like the seeded surface of a strawberry. Right after a wax, the dots are usually red or pink. This is a short-lived reaction around each emptied follicle and it settles as the skin calms. Dark dots that are there all the time are something else. They are typically follicle openings holding oil, dead skin cells, or the tip of a hair, and they are much more associated with shaving, where the cut hair sits just at the surface, than with waxing, where the hair is removed with its root.
Many clients who switch from shaving to regular leg waxing tell me the dotted look improves, simply because there is no dark stubble sitting in the follicle between appointments. Regular gentle exfoliation and moisturizer help further. Persistent rough, bumpy skin on the thighs that feels like sandpaper may be keratosis pilaris, a common and harmless condition in which keratin plugs the follicles. Waxing neither causes nor cures it, although very dry, bumpy skin can be more reactive to wax. A lasting pattern of dark dots, bumps that itch or hurt, or anything that looks infected is worth showing to a dermatologist instead of treating by guesswork.
Regrowth, Scheduling, and Shaving Between Waxes
How long a leg wax lasts depends on your own growth rate, your hair type, and how consistently you wax. Hair on the body grows in cycles, and at any moment some follicles hold a hair long enough to wax, some hold a hair still below the surface, and some are resting. Wax removes only what it can reach. After a first leg wax, especially following years of shaving, it is common to notice a few hairs appearing sooner than expected. These are usually not hairs that grew back quickly. They are hairs that were under the skin on the day and have now come through on their own schedule.
This is why the first few appointments matter. When waxing is repeated at steady intervals, more of the hair ends up on the same timetable, and the smooth period between visits tends to become longer and more even. Many clients also report that regrowth feels softer and looks sparser over time. The feel is easy to explain: a waxed hair grows back with a naturally tapered tip, where a shaved hair has a blunt cut end. Changes in density differ a lot from person to person, and waxing should never be sold as permanent hair reduction. I explain the cycle and what affects it in how long waxing lasts.
For scheduling, salons commonly suggest returning every several weeks, and your practitioner will adjust that to what they see on your legs. The right moment is when most of the regrowth has reached waxable length, not when the first few hairs appear. Coming in too early means short hairs get left behind. Waiting a very long time is not harmful, but the hair returns to full density and the next visit will feel closer to a first one. If you are planning around a vacation or an event, book the wax a few days ahead of it, not the day before, so that any redness or small bumps have time to fade.
Shaving between waxes is the habit that undoes the most progress. A razor cuts every hair at the surface regardless of where it is in its cycle, so at the next appointment the hairs are different lengths, many are too short to grip, and the result is patchy. The blunt tips also bring back the stubbly feel within days. If a few visible hairs bother you between appointments, the better options are to leave them, to trim them with small scissors, or to ask your salon whether a quick tidy-up is possible. If you do shave once in a moment of need, tell your practitioner and allow enough growth before rebooking.

At-Home Leg Waxing vs a Professional Service
Of all body areas, the lower legs are the most realistic to wax at home. You can see them, reach them with both hands, and the skin is sturdy. The thighs are harder, and the backs of the thighs are close to impossible to do well on yourself, because you cannot see the direction of growth, cannot hold the skin taut, and cannot remove a strip at a low angle while twisting around. Many people settle on a sensible split: lower legs at home when needed, and a professional service for the full leg or for the first few sessions while they learn what correct technique feels like.
| Factor | Professional leg wax | At-home leg wax |
|---|---|---|
| Visibility and reach | Practitioner sees and reaches every side, including the backs of the thighs and knees | Good for the front of the lower legs, poor for the backs of the legs |
| Skin support | One hand holds the skin taut while the other removes the strip | Hard to stretch the skin and pull correctly at the same time, especially on thighs |
| Wax temperature | Professional warmer with steady heat, tested before each application | Depends on the product, and microwaved wax can heat unevenly |
| Screening | Intake questions about medications, skin conditions, and sun exposure | You must screen yourself and read the product instructions fully |
| Result on tricky areas | Knees, ankles, and changing growth directions handled in small sections | Knees and ankles are the areas most often left patchy |
| Time and cost | Varies by salon and region, paid per visit | Lower cost per session after buying supplies, usually slower until practiced |
| Mess and cleanup | Handled by the salon | Wax drips on floors and fabric need an oil-based remover |
| Best suited to | First-time waxing, full legs, sensitive or reactive skin | Maintenance of lower legs by someone who has learned the technique |
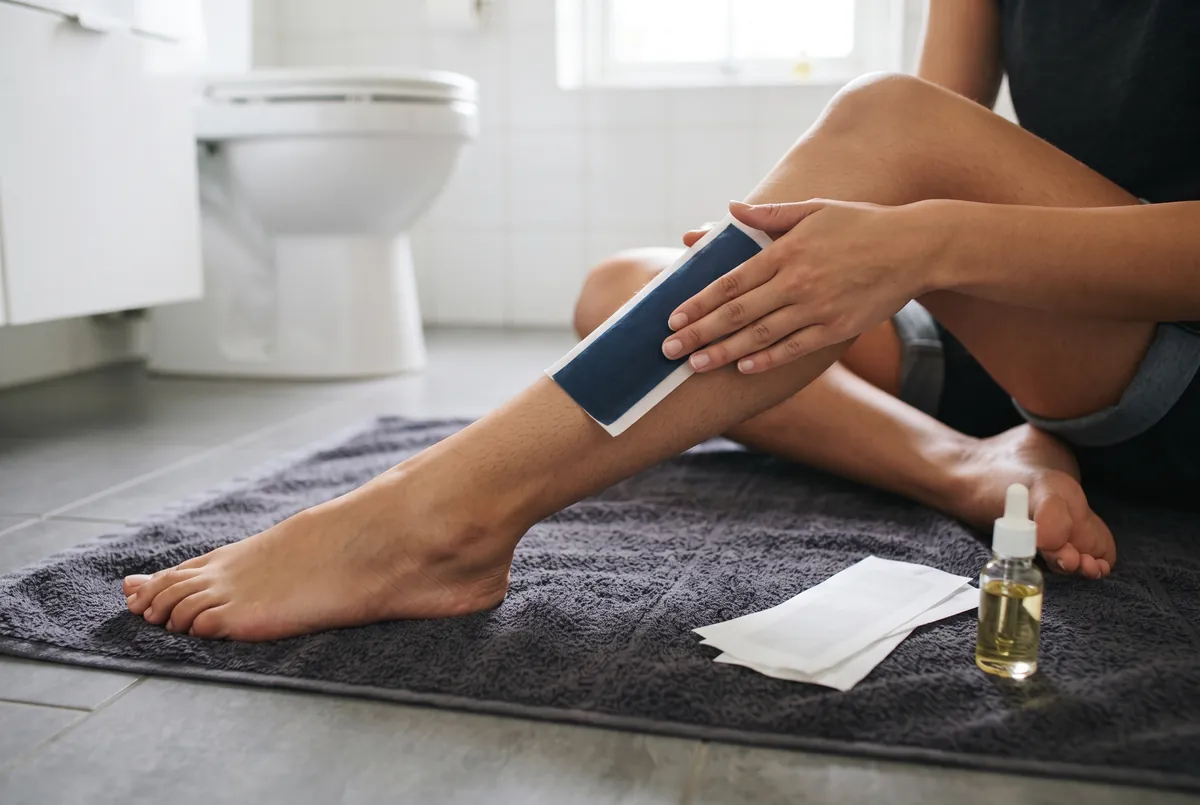
If you wax your legs at home, the product type matters. Pre-made cold wax strips are the simplest and carry no burn risk, but they grip less well on coarse hair. Warm soft wax with separate strips gives the closest result to a salon service and has the steepest learning curve. Roll-on cartridges apply a thin, even layer easily, though each cartridge should be used by one person only. Whatever you choose, read the instructions before the wax is warm, test the temperature on the inside of your wrist, and try one small section on the lower leg first. Then wait a day to see how your skin responds before doing the rest.
The typical mistakes with at-home leg waxing are consistent, and nearly all of them come from hesitation or hurry. People who come to me after a home attempt usually arrive with the same few problems: sticky residue, bruised patches on the thighs, stubble that returned within days, or one irritated area that was waxed several times. These are the errors behind those results, and each has a simple correction:
- Wax applied too thick. A heavy layer does not grip better. It stays tacky, leaves residue, and pulls on the skin. The layer should be thin enough to see the skin through it.
- Wrong direction. Applying against the growth or removing with it breaks hairs at the surface. Apply with the growth and remove against it, and check the direction again on every new area.
- Pulling upward. Lifting the strip up and away from the leg bruises the skin. Keep the pull low and close to the leg, as if folding the strip back along itself.
- No skin support. Loose skin moves with the strip. Use your free hand to hold the skin firm just beyond the end of the strip before you pull.
- Slow removal. Peeling a strip gradually hurts more and removes less. One fast, committed motion is kinder.
- Going over the same spot. Repeated soft wax on one patch can take skin with it. Tweeze leftover hairs instead.
- Waxing over lotion or sweat. Oil and moisture stop wax from adhering. Clean, completely dry skin is the starting point.
- Overheated wax. Wax that has been microwaved can be far hotter in the center than at the edge. Stir it and test before every application.
- Skipping the screening. Sunburn, broken skin, and certain medications are reasons to wait, at home as much as in a salon.
Who Should Not Wax Their Legs
Most healthy adults can have their legs waxed without trouble, but there are situations where waxing should be postponed, modified, or skipped. Some are temporary. Sunburned skin must never be waxed, and that includes a burn that has stopped hurting but is still pink or peeling. The same goes for open cuts, scrapes, fresh insect bites, rashes, active infections, and any flare of eczema or psoriasis on the area. Recently lasered or peeled skin on the legs needs time to recover first. In all of these cases the answer is to wait until the skin is fully healed, or for the practitioner to work around a small affected spot.
Varicose veins need specific care. Wax should not be applied directly over raised, bulging varicose veins, because the heat and the pull put stress on an area where the vessel wall is already weakened. A practitioner can often wax the rest of the leg and leave that zone alone. If varicose veins are extensive, painful, or accompanied by swelling or skin changes, ask your physician whether waxing your legs is appropriate at all. Small, flat spider veins are generally treated more leniently, but a practitioner should still use a low temperature and gentle technique over them, and some will choose to avoid them.
Diabetes is a condition where I ask for a physician's approval before waxing the legs. Diabetes can reduce sensation in the lower legs and feet and can slow healing, which means a client may not feel wax that is too hot and a small injury may take longer to recover or become infected. With the physician's OK, waxing is often still possible, with a lower wax temperature, extra care around the feet and ankles, and close attention afterward. Poor circulation in the legs from any cause, a history of blood clots, and lymphedema belong in the same category: get medical guidance first and tell your practitioner.
Medications matter even though the legs are far from the face. Oral isotretinoin for acne affects skin over the whole body, and waxing is avoided during treatment and for a period afterward that the prescriber determines. Blood thinners make bruising more likely. Long-term steroid use, oral or topical on the legs, can thin the skin. Prescription retinoids and strong exfoliating products matter wherever they are applied, so mention them if you use them on your legs. Pregnancy is not a reason to avoid leg waxing in itself, though skin is often more sensitive and lying flat may be uncomfortable later on. The full screening list is in my guide to waxing contraindications and when not to wax.
Technique Notes for Waxing Students
If you are learning, treat the leg as your training ground for habits that carry to every other area. The first is body mechanics. A full leg service means dozens of removals, and students who bend at the waist and pull with the wrist are sore by the end of a practice day. Set the table at a height that lets you work with a straight back, stand close to the section you are waxing, and move your feet instead of reaching. The pull should come from the arm and shoulder traveling along the leg, with the wrist firm. Reposition the client rather than contorting yourself.
The second habit is economy of wax. New students almost always apply too much. Load the spatula lightly, wipe one side on the edge of the pot, and spread with the spatula held at roughly a forty-five degree angle and steady pressure so the layer comes out thin, even, and sheer. Feather the leading edge. On the shin you can work in long sections, but only as long as the strip you can remove in one motion while keeping the skin taut. A strip can be reused for several pulls on the same client until it stops picking up cleanly, then it is discarded. A fresh spatula goes into the pot every time.
Third, make reading the hair a visible step. Before each section, look, stroke the hair, and say the direction to yourself. On the thigh and around the knee, expect it to change within a hand's width. Position the client so the skin is stretched: knee bent for the kneecap, foot flexed for the ankle, leg turned out for the inner thigh, leg straight and relaxed for the back of the knee. Your free hand is as important as your pulling hand. Place it close behind the end of the strip, stretch the skin away from the direction of pull, remove, and press. Stretch, pull, press should become one rhythm. Finish every service with your own inspection against the light, and check the places students miss: the outer edge of the knee, the hollow beside the ankle bone, and the crease below the buttock.
Finally, be clear about what study can and cannot do. Reading, video, and a structured theory program such as our online waxing course will teach you skin anatomy, contraindications, sanitation, and the reasoning behind each step. They do not replace hands-on training, and they never replace the in-person hours, examinations, or licence your state requires before you can wax paying clients. In most states waxing falls under an esthetician, cosmetologist, or dedicated waxing licence, and the rules differ. Check the waxing licensing requirements by state, and for the whole route from school to first job, read how to become a waxing specialist.
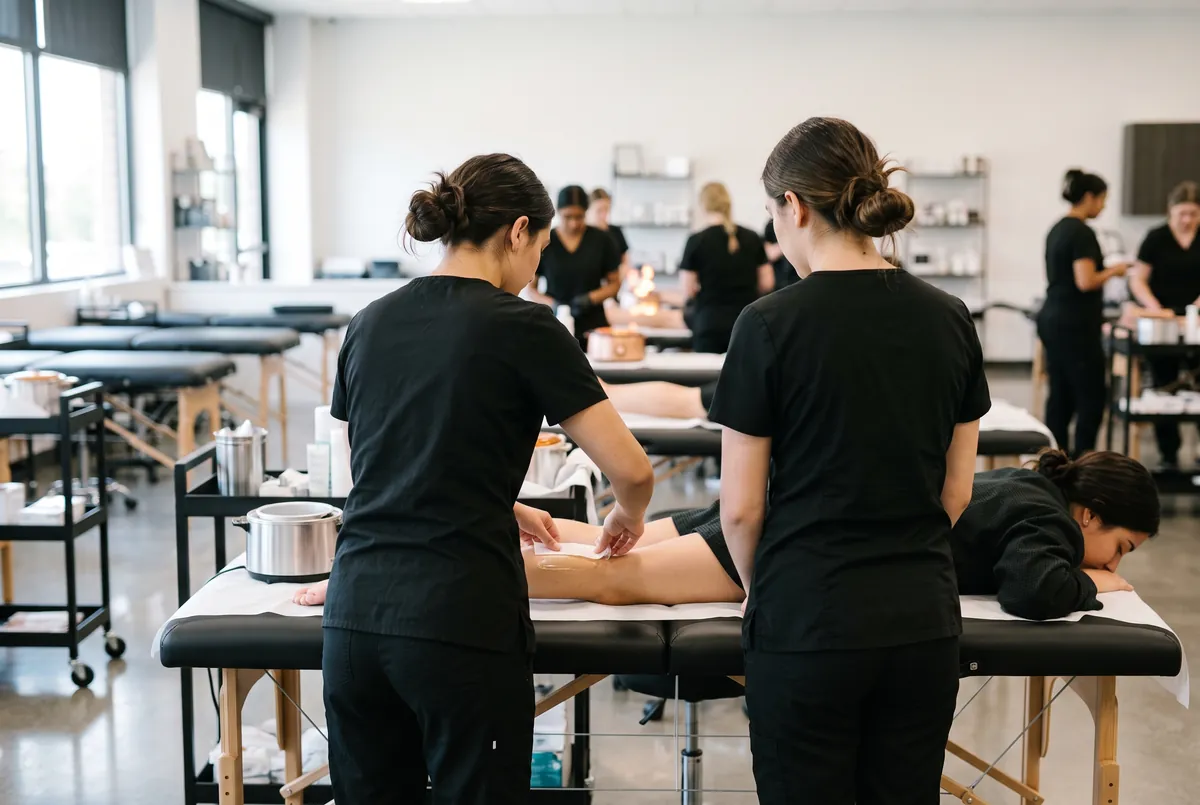
Leg Waxing Checklist
Clients tell me that a short list is the most useful thing to keep from an article like this, so here is the whole process reduced to the points that affect the result. It follows the order of events: the week before, the day itself, the appointment, the first two days afterward, and the weeks until the next visit. Students can use the same list in reverse, as the set of instructions a client should hear from you at booking and again before leaving the room. None of it replaces the advice of your own practitioner, who has seen your skin.
- Confirm with the salon what the full leg wax or half leg wax includes: knees, feet, toes, and where the top boundary is.
- Let the hair grow until you can pinch and gently tug it, roughly the length of a grain of rice.
- Exfoliate gently a day or two before, not on the day.
- Keep legs moisturized during the week, then skip lotion, oil, and self-tanner on the day.
- Stay out of the sun and tanning beds before the appointment. No waxing on sunburn.
- Tell the practitioner about medications, skin conditions, varicose veins, diabetes, and recent skin treatments.
- Wear loose, breathable clothing to and from the salon.
- Breathe out on each removal and speak up if the wax feels too hot.
- For the first day or two: no hot baths, sauna, pool, hard workouts, tight leggings, sun, or perfumed products.
- After that: gentle exfoliation a few times a week and daily moisturizer to limit ingrown hairs.
- Do not shave between appointments. Trim a stray hair if you must.
- Rebook when most regrowth is long enough to wax, and a few days ahead of any event.
- See a physician or dermatologist for redness that worsens, pus, blistering, or any reaction that does not settle.
Your Next Step
If you are a client, the next step is practical: decide between a half leg and a full leg based on where your hair actually bothers you, let it grow to a length you can pinch, and call a licensed salon with two questions about what the service includes and how they suggest you prepare. Give leg waxing at least a few consistent appointments before you judge it, because the first visit is the least representative one. If you are a student, practice the sequence in this guide on as many different legs as your school allows, since no two clients have the same growth pattern, and keep building the theory behind it. Clean, careful leg waxing is the foundation that every other waxing service is built on.
State Requirements
State licensing guides
Hours, exams, fees, and the licensing board differ by state. Open your state for the current requirements.
Common Questions
FAQ
The usual guideline is around a quarter of an inch, about the length of a grain of rice. A simple test is to pinch a hair between your fingertips: if you can hold it and tug gently, wax can grip it. Hair that is too short gets left behind or breaks at the surface, and very long hair makes removal less comfortable, so a practitioner may trim it first. How long that takes to grow after shaving differs from person to person, so judge by length and feel, not by a fixed number of days.
A half leg wax usually covers the lower leg from the ankle to the knee, and some salons also offer an upper half leg for the thigh. A full leg wax covers the whole leg from the ankle to the top of the thigh, front and back. Whether the knees, feet, and toes are included varies by salon, and the bikini line is normally a separate service. Because these are menu names and not standard definitions, ask what is included when you book.
It varies with the salon, the practitioner's method, the type of wax, and how much hair there is. A half leg is naturally quicker than a full leg, soft strip wax is faster over large areas than hard wax, and a first appointment often runs longer because of the consultation and denser hair. Adding feet, toes, or a bikini line extends it. The reliable way to plan your day is to ask the salon how much time they book for the specific service you want.
It depends on your individual growth rate and hair cycle, so there is no single number that fits everyone. Expect some hairs to show earlier after a first wax, because hairs that were below the surface on the day continue to grow in. With regular appointments, the smooth period generally becomes longer and more even. Shaving between visits shortens it.
Soft strip wax is the common choice for most of the leg because it covers large, flat areas quickly and picks up fine hair well. Hard wax grips the skin less and is often preferred for sensitive zones such as the upper inner thigh and the back of the knee, or for clients with reactive skin. Many practitioners use both in one service. Technique matters more than the category: thin application, taut skin, and a fast removal kept parallel to the leg.
It is better not to. Shaving cuts all the hair at the surface, so at your next appointment the hairs are uneven in length and many are too short for the wax to grip. It also brings back blunt stubble. If a few hairs bother you, trim them with small scissors or leave them. If you did shave, tell your practitioner and allow the hair to reach waxable length before your next visit.
Small red or pink dots straight after a leg wax are a normal, short-lived reaction around each emptied follicle and usually fade on their own. Dark dots that are always present are typically follicle openings holding oil, dead skin, or a hair tip, and they are linked more with shaving than with waxing. Gentle exfoliation and daily moisturizer help. See a dermatologist for dots that persist, itch, hurt, or look infected.
Wax should not be applied directly over raised varicose veins. A practitioner can often wax the rest of the leg and avoid that area, but if the veins are extensive or painful, ask your physician first. With diabetes, get your physician's approval before leg waxing, because reduced sensation and slower healing in the lower legs and feet raise the risk of burns and infection. Always tell your practitioner about both conditions before the service begins.
Keep Reading
Related Guides


