Waxing
Eyebrow Waxing Guide: Brow Mapping, Technique, and Aftercare
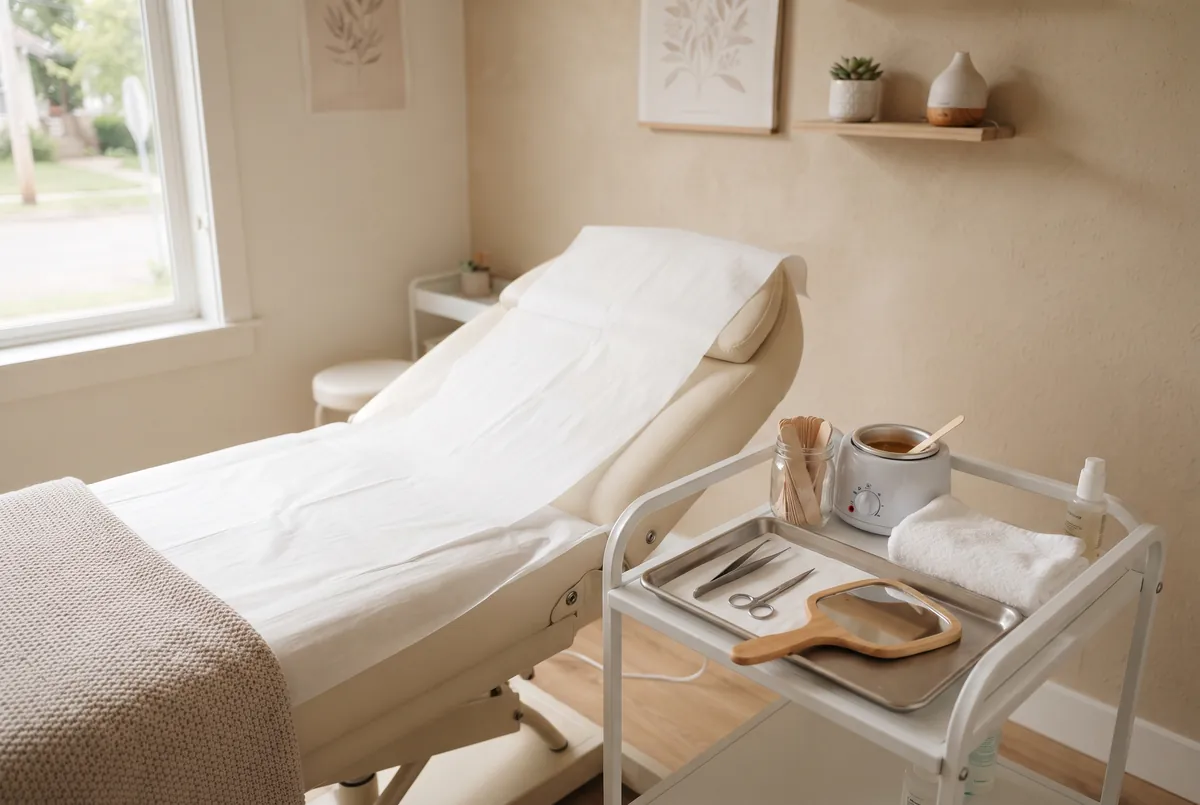
Quick answer
Good eyebrow waxing starts with brow mapping, so you remove some hair and leave a deliberate shape rather than clearing the area. Screen for contraindications such as retinoids, isotretinoin, recent peels and sunburn, apply small controlled amounts of wax, finish with tweezing, and give clear aftercare. For stray brow hairs that keep returning, electrolysis is the permanent option.
Eyebrow waxing is one of the smallest services on a waxing menu and one of the least forgiving. The treatment area is only a few square inches, yet it frames the entire face, and a single misplaced strip can take weeks to grow back. Clients notice a brow that is a little too thin, a tail that drops lower on one side, or an arch that looks surprised far faster than they notice almost any other beauty mistake. That is why I teach brows as a precision skill rather than a quick add-on. After more than twenty years as a licensed cosmetologist and electrologist, I still slow down every time I hold a spatula near someone's brow.
This guide is written for students, new waxing professionals, and informed clients who want to understand what a good brow service looks like. It covers how to wax eyebrows from start to finish: brow mapping and shape, choosing hard wax vs soft wax for eyebrows, skin prep, the consultation questions that keep clients safe, step by step eyebrow waxing technique, tweezing cleanup, eyebrow waxing aftercare, the side effects to watch for, and the mistakes I see most often. At the end I explain when electrolysis is the smarter long-term answer for stray brow hairs and how licensing works for this service in the United States.
Why Eyebrow Waxing Is Different From Other Waxing Services
On the legs or underarms, the goal is simple: remove all the hair in the area. On the brows, the goal is to remove some hair and leave the rest in a deliberate shape. That changes everything about the service. You are editing, not clearing. Every piece of wax you apply has an edge, and that edge becomes part of the brow line. If the edge is soft or wanders, the brow line wanders too. This is why brow work rewards small, controlled applications and punishes the fast, broad strokes that work well on larger areas.
The skin itself is also different. The eyelid is some of the thinnest skin on the body, and the area under the brow sits directly over it. It moves easily, it bruises easily, and it reacts quickly to heat and friction. The forehead above the brow is often oily and may be exposed to active skincare ingredients every night. Between the brows, the skin can be textured and prone to breakouts. In one small service you may be working on three different skin behaviors, so the way you support the skin and control wax temperature matters more than it does almost anywhere else.
Finally, brows carry emotional weight for many clients. People have strong opinions about how their brows should look, and many have a history of overplucking that they are still growing out. Some want a bold, natural shape, others want a clean and defined look, and a few arrive with a photo that does not suit their bone structure at all. A good brow professional listens, explains what is realistic, and protects the client's future options. Removing hair is easy. Putting it back is not, and that single fact should guide every decision you make during an eyebrow waxing appointment.
Brow Mapping: Finding the Right Shape Before You Wax
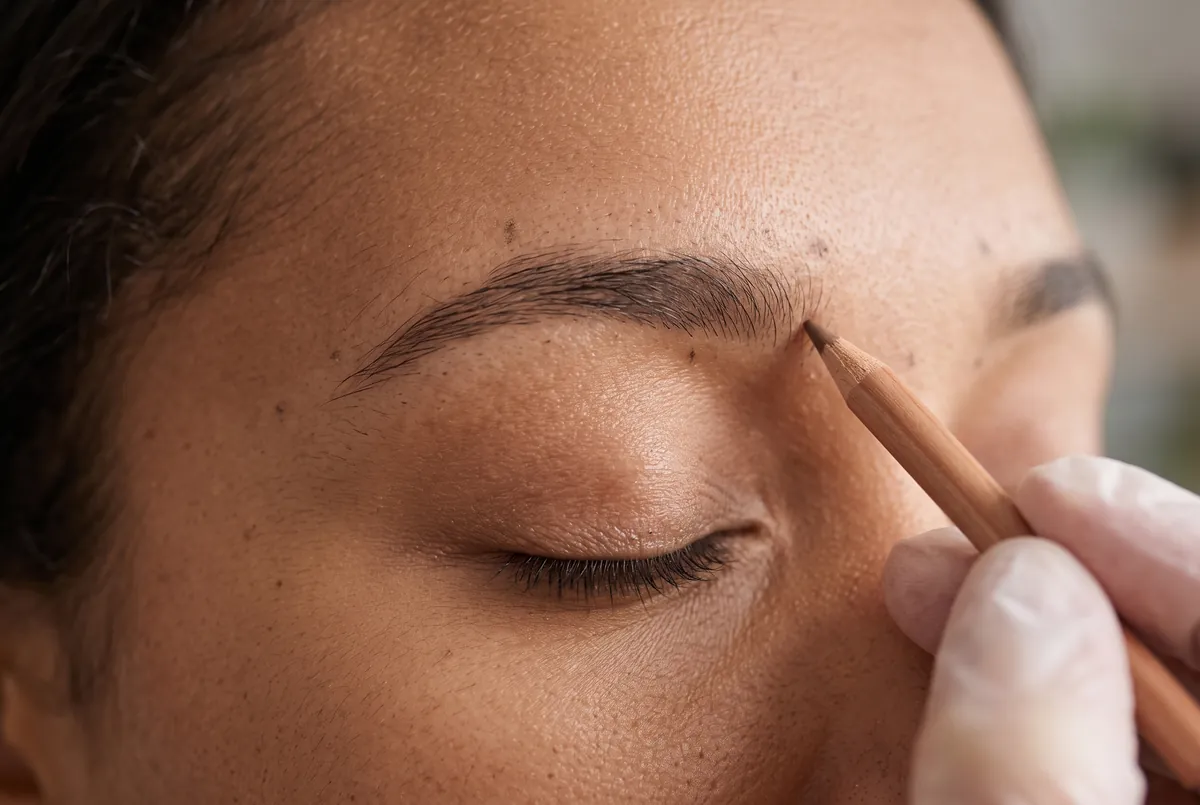
Brow mapping is the step that separates a professional brow service from a guess. Before any wax touches the skin, I study the face and mark reference points so that both brows are built from the same logic. Mapping does not mean forcing every client into one template. It means using the client's own features, such as the width of the nose, the position of the iris, and the bone structure of the brow ridge, to find where the brow naturally wants to start, peak, and end. The result looks balanced because it grows from that face, not from a trend.
The classic mapping method uses a straight tool, often a thin mapping pencil or a long orangewood stick, held against the face at three angles. I mark each point lightly with a white or light brow pencil, then step back and look at the whole face in a mirror with the client. This is also the moment to talk about the shape they want and what the existing hair allows. If the brows are sparse in the middle of the arch, I say so now, before waxing, so the client understands why I may leave more hair than they expected.
- Start point: hold the tool vertically from the outer edge of the nostril straight up. The brow usually begins where the tool crosses it. Hairs inside that line, toward the center, are the ones typically cleared.
- Arch or peak: angle the tool from the outer edge of the nostril through the outer edge of the iris while the client looks straight ahead. The highest point of the brow usually sits along this line.
- End point: angle the tool from the outer nostril past the outer corner of the eye. The tail usually ends where the tool meets the brow line.
- Baseline check: look at whether the start and the tail sit close to the same horizontal level. A tail that falls well below the start tends to make the face look tired.
- Thickness check: note where the brow is fullest and where it naturally tapers, so the shape keeps its body through the front and middle.
After marking the points, I outline the shape I intend to keep with a light pencil along the top and bottom of the brow. Anything outside that outline is a candidate for removal. Anything inside it stays. This outline is your safety rail during waxing: the edge of each wax application should meet the edge of the pencil line, never cross into the brow. I then compare the two sides. Almost no one has perfectly symmetrical brows, and the goal is to make them look like sisters, not twins. Chasing perfect symmetry is one of the fastest ways to over-wax a client.
Hard Wax vs Soft Wax for Eyebrows
The choice between hard wax and soft wax is one of the most common questions students ask about eyebrow waxing. Both can give an excellent result in trained hands. They work differently, though, and those differences matter more on the brow than on most areas. If you want a broader overview of wax chemistry and formulas for every body area, read my guide to the types of wax used for hair removal. Here I focus only on how each type behaves around the eye.
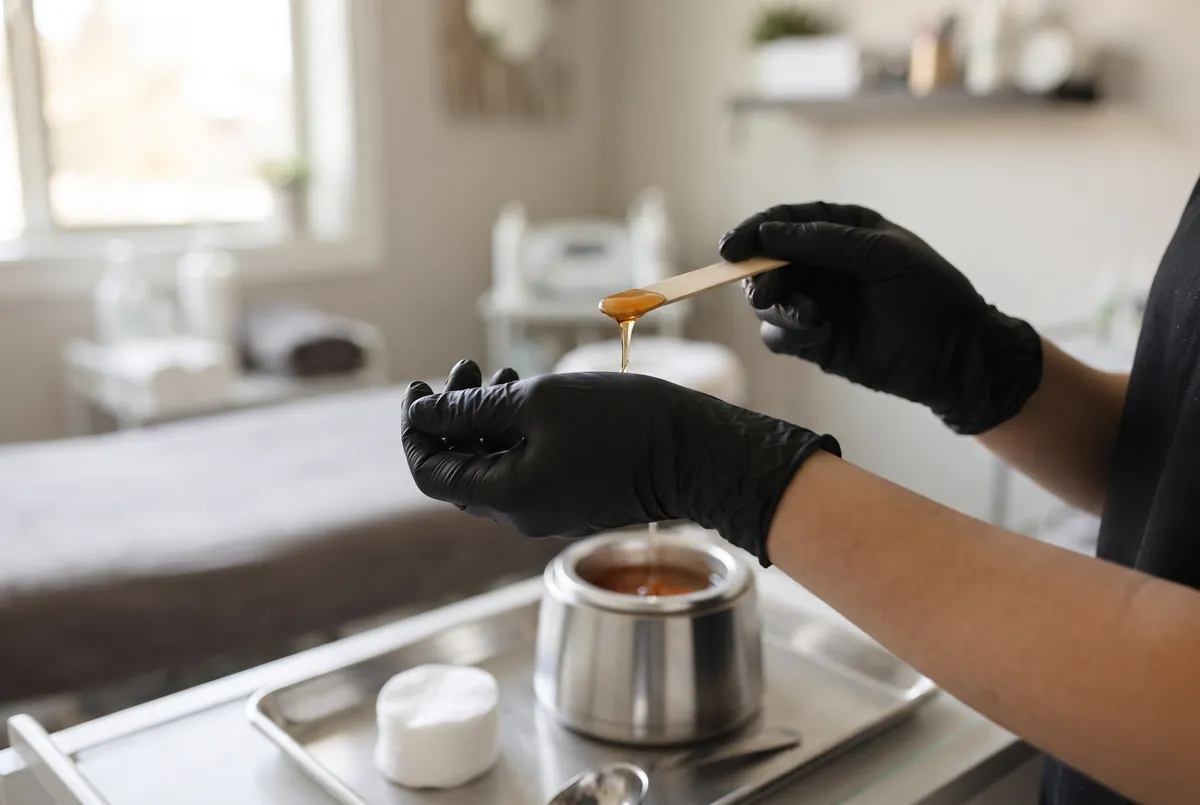
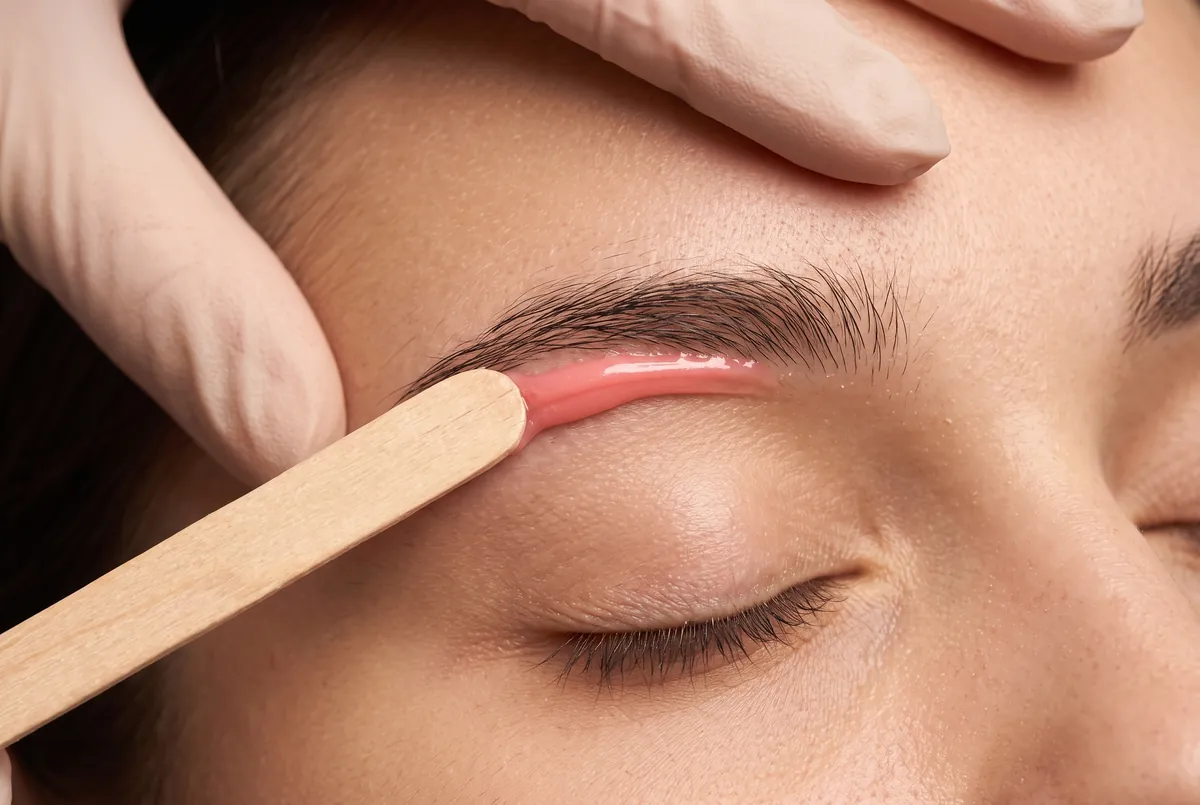
Hard wax is applied thicker, sets as it cools, and is removed without a strip by lifting a small flicked edge. It grips the hair firmly as it shrinks around it and grips the skin less than soft wax does. For many practitioners, that makes hard wax the default for brows, especially under the brow near the eyelid, on sensitive or mature skin, and on clients who react easily. It is also forgiving for learners, because you can shape a small, clean-edged patch and see exactly where it ends before you remove it.
Soft wax, sometimes called strip wax, is spread in a thin layer and removed with a small cloth or paper strip. It can produce very crisp lines and works quickly on fine hair, which is why some experienced brow artists prefer it for the top edge or the area between the brows. The tradeoff is that soft wax adheres to the skin surface as well as the hair, so it can lift more of the outer skin layer and it does not tolerate a second pass on the same spot. On delicate eyelid skin, that difference can mean the gap between a pink brow and a lifted, weeping one.
| Factor | Hard wax on brows | Soft wax on brows |
|---|---|---|
| How it is removed | Lifted off by its own flicked edge, no strip | Removed with a small strip pressed on top |
| Grip on skin | Lower, grips mainly the hair | Higher, adheres to hair and skin surface |
| Best zones | Under the brow, near the eyelid, sensitive skin | Fine hair between brows, top edge, very crisp lines |
| Second pass on same spot | Sometimes possible with care | Avoid, higher risk of lifting |
| Learning curve | Easier to control shape and edges | Needs precise thin application and timing |
| Common problem when misused | Breaks if too thin or left too long | Residue and lifting if too thick or too hot |
In my practice I use hard wax for most brow work and keep a small amount of soft wax available for clients with very fine, light hair between the brows. I recommend the same approach to students: learn hard wax first, get consistent with small edges and correct thickness, then add soft wax as a precision tool. Whichever you choose, use a formula intended for the face and sensitive areas, keep separate small spatulas for brows, and never double dip. A brow service deserves a fresh, narrow applicator every time it goes back into the pot.
Consultation and Contraindications: Who Should Not Be Waxed Today
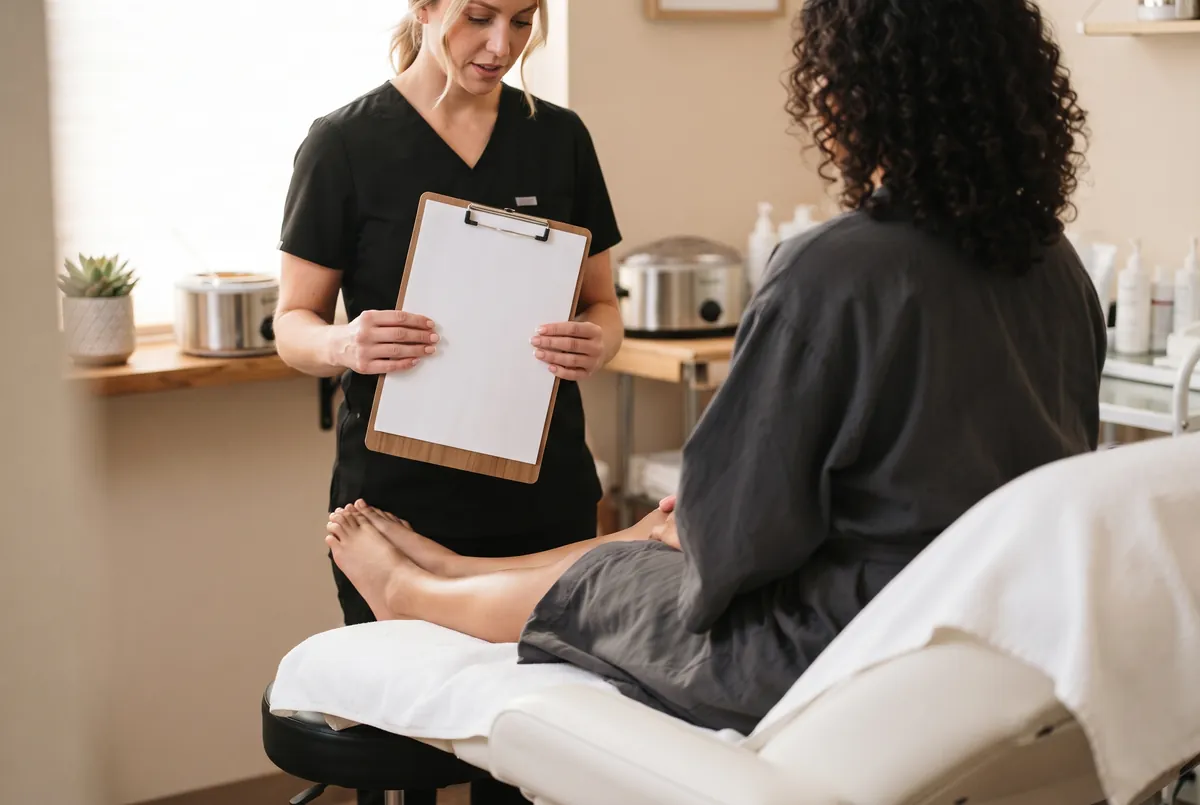
Most serious eyebrow waxing side effects I have seen did not come from bad technique. They came from a missed question. The client started a retinoid cream a week earlier, had a chemical peel two days ago, or was taking a medication that makes skin fragile, and nobody asked. A short, structured consultation before every brow service, including returning clients, prevents most of those injuries. Skin and medications change between visits, so an intake form filled out a year ago is not enough.
I ask about prescription and over-the-counter skincare, oral medications, recent treatments, sun exposure, and skin conditions. I also look closely at the skin under good light before I pick up the spatula. If anything on the list below applies, I either do not wax that day, choose tweezing or trimming instead, or ask the client to check with their physician or dermatologist before we proceed. When I am unsure, I do not wax. A rebooked appointment costs far less than a lifted patch of skin next to someone's eye.
- Topical retinoids: prescription tretinoin, adapalene, tazarotene, and strong over-the-counter retinol thin and sensitize the outer skin. Ask when they last used it on the brow area and follow your training and the client's prescriber guidance on how long to pause.
- Oral isotretinoin: clients currently taking it, or who stopped recently, should not be waxed. Their prescribing physician should confirm when skin has recovered enough for waxing.
- Recent peels, microdermabrasion, or laser treatments: freshly resurfaced skin lifts easily. Wait until the treating professional says the skin has healed.
- Sunburn or windburn: any redness, peeling, or heat in the area means no wax today.
- Active skin conditions in the area: eczema, psoriasis, active dermatitis, open lesions, cold sores near the area, infections, or unexplained rashes. Refer to a physician when unsure.
- Some medications: blood thinners, certain antibiotics, and some acne or hormonal medications can increase bruising or sensitivity. Ask, and let the client's doctor decide if there is doubt.
- Recent cosmetic injections or brow procedures: ask about injectables, microblading, or lamination and follow the treating provider's aftercare timeline before waxing near that area.
- Moles, raised lesions, and skin tags: never wax over them. Work around them and suggest a dermatologist visit if a spot looks new or changing.
For clients with darker skin tones, I add one more conversation. Deeper skin can respond to irritation with post-inflammatory hyperpigmentation, meaning dark marks that may last longer than the redness did. That does not mean waxing is off the table. It means gentle technique, conservative temperature, fewer passes, and extra caution with any active ingredients before and after. If a client with a history of dark marks keeps fighting stray hairs, I often discuss permanent options, and my guide on electrolysis for dark skin explains why that method works across all skin tones.
Skin Prep and Station Setup
Good eyebrow waxing technique starts with clean, dry, oil-free skin. I ask the client to remove eye and brow makeup, then cleanse the whole brow area with a gentle pre-wax cleanser on a cotton pad, working with the growth of the hair. On oily skin, I follow with a light pre-wax product that removes remaining oil. Wax does not grip hair evenly through makeup or sebum, and uneven grip is one of the main reasons hairs break instead of coming out cleanly.
Next comes a very light layer of pre-wax oil when I am using hard wax. The oil is meant to sit on the skin as a thin barrier so the wax holds the hair more than the skin. The key word is thin. Too much oil and the wax will slide and fail to grip. I pat any excess away with a dry pad. When using soft wax, many formulas call for a dusting of a light powder instead of oil, which absorbs moisture and helps the wax cling to the hair. Follow the instructions for your specific product line.
The station matters as much as the skin. I test the wax temperature on the inside of my own wrist and then on a tiny area of the client's skin away from the eye, such as near the hairline, before every service. Brow wax should flow like thick honey: fluid enough to spread smoothly, not so runny that it drips from the spatula. I use narrow, fresh spatulas sized to the brow, keep tweezers and small scissors disinfected and ready, and set out cotton, cleanser, and soothing product in the order I will use them. Reaching across the client mid-service is how accidents happen.
Positioning is the last part of prep. The client lies back with the head supported and the chin slightly lifted, so the brow is level and I can see both sides from above the head. I work from behind or beside the head, never from directly in front of the face, because that angle distorts the shape. Before waxing, I brush the brow hair into its natural direction with a clean spoolie. This shows exactly which hairs lie outside the pencil outline and prevents the wax from grabbing hairs that belong to the brow.
How to Wax Eyebrows Step by Step
Once mapping, consultation, and prep are done, the actual waxing is a series of small, careful applications. I work on one side at a time and usually in the same order: under the brow first, then between the brows, then the top edge if needed, then tweezing. Working under the brow first matters because that area defines most of the shape, and it lets me judge the arch before I decide whether the top line needs anything at all. Many clients need little or no wax above the brow.
- Load a small amount of wax on a narrow spatula and remove the excess on the rim of the pot so nothing drips toward the eye.
- Apply in the direction of hair growth, starting at the pencil outline and moving away from the brow. The edge nearest the brow is the most important line in the service.
- Keep the patch small, usually a narrow section that covers only a portion of the underbrow at a time. Several small patches give more control than one large one.
- For hard wax, build an even layer thick enough not to crack, with a slightly thicker lip at the end where you will lift it.
- Wait for the right set. Hard wax should feel firm and pliable, not tacky and not brittle. Soft wax gets a strip pressed firmly along the growth direction.
- Support the skin by holding it taut with your other hand, stretching it gently away from the direction of removal. On the underbrow, this usually means lifting the skin toward the brow bone so the eyelid is not pulled.
- Remove quickly against the growth, low and parallel to the skin, never straight up. Immediately press the area with your palm or fingers to calm it.
- Check and repeat on the next section, moving along the brow until the underbrow shape matches the outline, then treat the area between the brows and the top line if needed.
Between the brows, I ask the client to relax the forehead rather than frown, because tension changes the skin surface. I usually apply one small patch on each side of the center rather than one large patch across the middle, since hair between the brows often grows in two directions. On the top edge, I remove only stray hairs that clearly sit above the outline. The top line gives a brow its natural softness, and taking too much from above is one of the fastest ways to make brows look thin and flat.
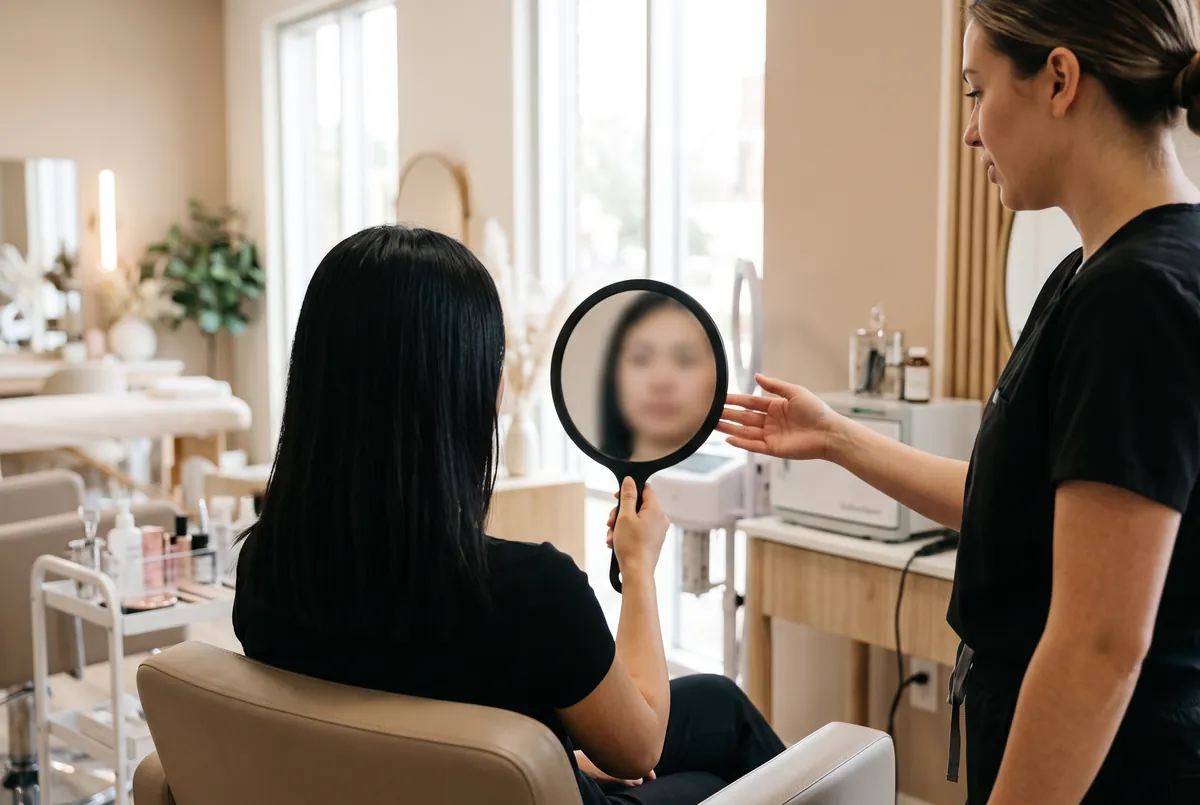
After finishing the first side, I have the client sit up and look in the mirror before I start the second. This is not a formality. Brows look different when a person is upright, and seeing one finished side helps the client confirm they like the direction. Then I wax the second side to match, checking frequently from above the head so I compare both brows from the same angle. I would much rather stop short and tweeze a few hairs than add one more patch that I cannot take back.
Tweezing Cleanup and Finishing the Shape
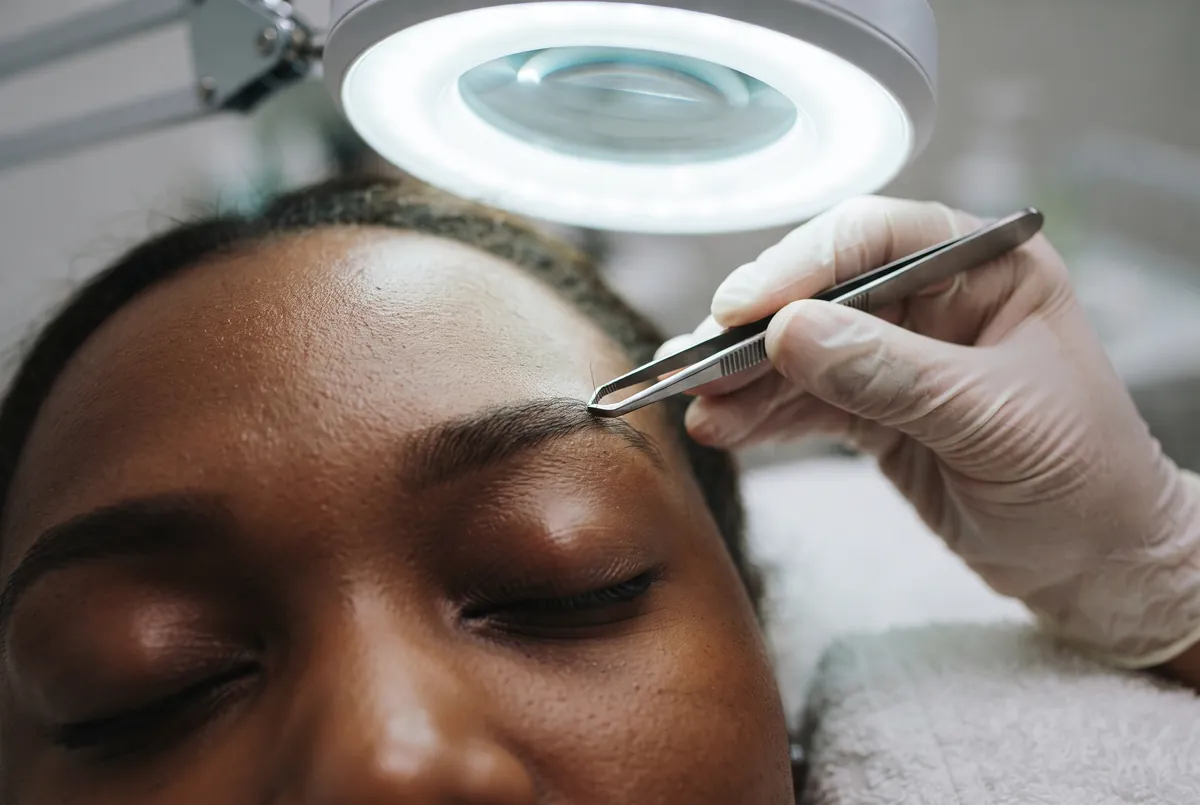
Wax removes the bulk of the unwanted hair, but tweezing finishes the brow. Some hairs are too short for wax to grip, some sit so close to the brow line that wax would risk taking good hair with them, and a few simply break. I use sharp, slanted tweezers that are cleaned and disinfected between clients. The job is to remove individual strays outside the outline, not to redesign the brow. If I find myself tweezing many hairs, it usually means my wax edges were too conservative, and I note that for the next visit.
For each hair, I hold the skin taut, grasp the hair as close to the skin as possible, and pull in the direction of growth with a smooth motion. Pulling against the growth with tweezers is more likely to snap the hair or irritate the follicle. I tweeze in good light, often with a magnifying lamp, and I step back to look at the whole face every few hairs. A single hair can change the look of an arch, so I stop as soon as the shape reads clean from a normal viewing distance.
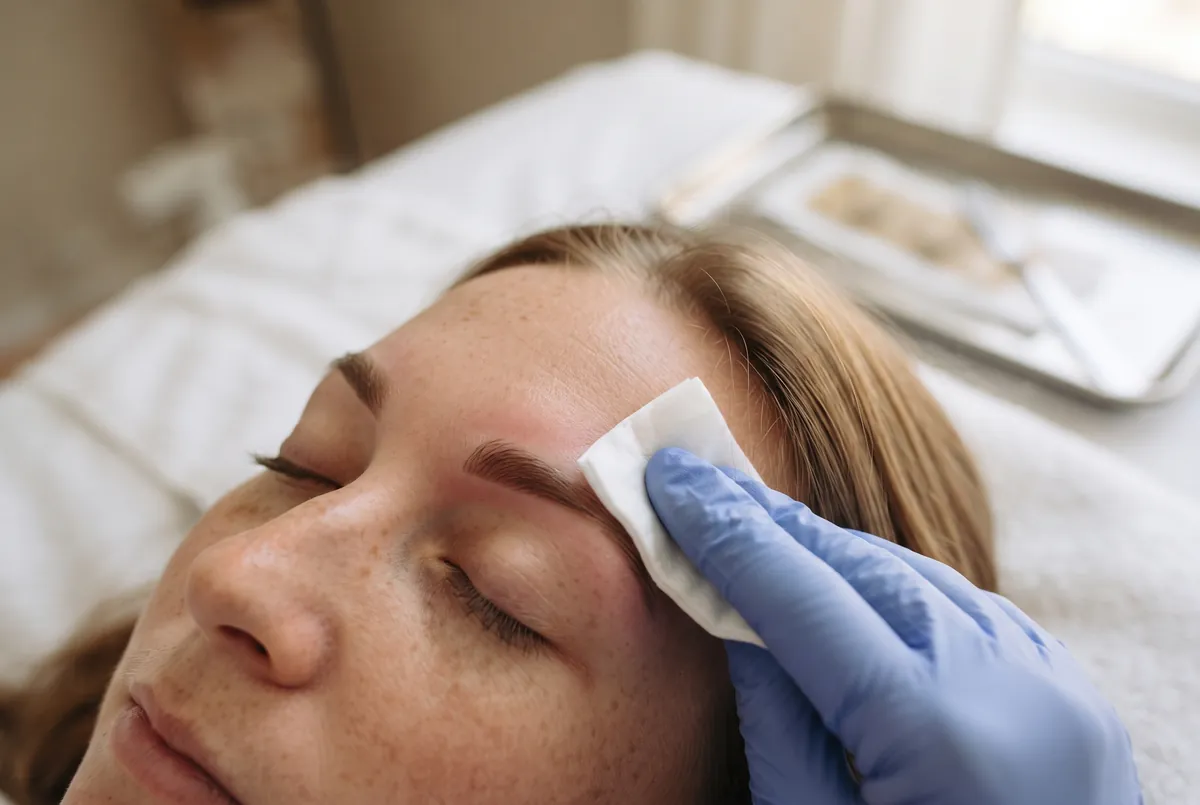
After tweezing, I brush the brows up and trim any long hairs that extend well above the top line, trimming only the tips so the brow keeps its density. Then I remove the pencil marks and any wax residue. For hard wax, residue usually lifts with a small press of a used hard wax patch or with a post-wax oil. For soft wax, a post-wax oil or remover designed for the face works best. I never scrub the area. Finally I apply a thin layer of a soothing, fragrance-free post-wax product and show the client the finished result in the mirror.
Clients often ask whether they should keep tweezing at home between appointments. My honest answer: tweeze only obvious strays that are clearly far outside the shape, and leave anything near the brow line alone. Home tweezing close to the brow is how many people slowly erase their own shape. If you want to understand how tweezing compares with longer-lasting methods, the section on electrolysis below explains when a permanent method makes more sense.
Avoiding Skin Lifting, Burns, and Bruising
Lifting happens when the wax pulls away the top layer of skin along with the hair. On the brow it shows up as a shiny, pink, raw patch, sometimes with a little weeping, and it can darken as it heals, especially on deeper skin tones. Lifting is one of the most talked about eyebrow waxing side effects, and in nearly every case I have reviewed it had a clear cause: skin sensitized by retinoids or a recent treatment, wax that was too hot, a second pass of soft wax on the same spot, or skin that was not held taut during removal.
To prevent lifting, go back to the consultation, because many of those causes are caught there. During the service, use a formula designed for sensitive facial areas, apply a thin barrier of pre-wax oil with hard wax, keep patches small, and support the skin firmly with the free hand. Remove the wax low and parallel to the skin in one quick motion. If some hairs remain after one pass of soft wax, switch to tweezers rather than applying more wax. With hard wax, a careful second pass is sometimes acceptable on skin that is clearly calm, but I avoid it on the underbrow.
Burns are almost always about temperature and control. Wax warmers can overheat when they are left on high, when the pot is nearly empty, or after a busy stretch of services. Test the wax every time, on yourself first and then on a small area of the client's skin away from the eye. Never apply wax straight from a freshly melted pot, and keep the spatula loaded lightly so no drips travel toward the lid. If a client says the wax feels hot, believe them and stop to check before continuing.
Bruising is less common on brows but does happen, particularly on mature or thin skin, or when a client takes medications that affect clotting. It usually comes from pulling the skin instead of supporting it, or from removing wax upward rather than parallel to the surface. Pressing the area immediately after each removal helps. If lifting, a burn, or a bruise does happen, stop waxing in that area, cool it gently, apply a bland soothing product, tell the client honestly what happened, and give written aftercare. If the skin is broken, weeping, blistered, or shows signs of infection later, the client should see a physician.
Eyebrow Waxing Aftercare
Freshly waxed brow skin is more sensitive than it looks. The follicles are open, the surface may be slightly irritated even without visible redness, and anything applied in the next day or so has easier access to the skin. Most eyebrow waxing aftercare problems I hear about come from ordinary habits: putting makeup back on right away, going straight to a hot workout, or using an exfoliating serum that evening. I give every client a short, clear list and explain the reasons behind it, because people follow advice they understand.
- Keep hands off the area and avoid rubbing or picking at any bumps.
- Skip brow makeup, foundation over the area, and fragranced products for the rest of the day and preferably until the next day.
- Avoid heat and heavy sweating for the rest of the day: saunas, steam rooms, hot yoga, and very hot showers aimed at the face.
- Pause retinoids, exfoliating acids, and scrubs on the brow area until the skin feels completely normal again.
- Use a clean, gentle, fragrance-free moisturizer or soothing gel if the skin feels tight.
- Protect the area from direct sun and use sunscreen once the skin has calmed, especially if you tend to get dark marks.
- Avoid tanning beds and self-tanner on the brow area until the skin has settled.
- Contact your waxing professional if redness, swelling, or bumps get worse instead of better, and see a physician if you notice blistering, oozing, crusting, or signs of infection.
Some redness right after a brow wax is normal and usually fades within hours. Small bumps can appear on reactive skin and generally settle on their own. What is not normal is redness that spreads or intensifies, heat, pain that increases, or skin that looks raw or shiny. For professionals, the way you handle aftercare also shapes your reputation. Explaining it clearly, giving it in writing, and inviting clients to message you with concerns shows that you take their skin seriously. For a broader home care routine after any wax service, see my full waxing aftercare guide.
Between appointments, I ask clients to let the brows grow rather than tidying them at home. How often to rebook depends on the individual hair growth pattern, and I set the interval by what I see on the next visit rather than by a fixed rule. If the brows have been overplucked in the past, I may ask for a longer gap and fewer removals for a while so that sparse areas can fill in. Consistent spacing also keeps more hairs on the same growth schedule, which makes each wax cleaner.

Common Eyebrow Waxing Mistakes and How to Avoid Them
Over-waxing is the mistake I correct most often, both in students and in clients who come to me from other services. It rarely happens in one appointment. It happens a little at a time: a slightly higher underbrow edge here, a bit more off the tail there, one extra patch to fix a small imbalance. Over months the brow grows thinner and shorter until the client no longer recognizes it. The fix is patience. I leave the area alone, remove only clear strays far outside the natural shape, and let the brow grow back into a fuller line before refining.
Asymmetry is the second big one, and it usually comes from working with the face at the wrong angle or from waxing one side completely and then trying to match it from memory. Compare both brows frequently from above the head and in the mirror while the client sits up. Accept that faces are naturally uneven. One brow bone may be higher, one eye may be a little larger, and muscle habits lift one side more when the person speaks. The aim is balance that reads as natural, not a mirror image drawn with a ruler.
Other frequent errors are smaller but add up. Starting the brow too far apart makes the face look wider and surprised. Clearing too much from the tail shortens the brow and can make the eyes look smaller. Squaring off the inner corner with a hard wax edge creates a stamped look instead of a soft start. Removing the top line creates a flat, thin brow. Waxing over makeup or oil leaves broken hairs that grow back unevenly. Rushing the consultation leads to lifting. Each of these has the same cure: mapping first, small patches, frequent checks, and the discipline to stop early.
Clients make mistakes too, and part of your job is gentle education. Some bring a photo of a very thin trend brow, and it helps to explain that thin brows may not fully grow back if follicles are damaged by years of overplucking. Some tweeze aggressively between visits, and it helps to show them exactly which few hairs they may touch. Some expect the brow to look the same on the day of waxing as it does a week later, and it helps to mention that slight redness makes the shape look sharper at first.
When Electrolysis Is the Better Long-Term Option for Stray Brow Hairs
Waxing is temporary. The hair grows back from the same follicle, and brow maintenance continues for as long as the client wants that shape. For many people that is perfectly fine. The appointment is quick, the result is immediate, and the routine fits their life. For others, especially clients who have kept the same brow shape for years and are tired of the regrowth cycle, a permanent method makes more sense. Electrolysis is the only method the FDA accepts for claims of permanent hair removal, and it works on individual hairs, which suits the precise, small-scale nature of brow work.
I suggest discussing electrolysis with clients in a few situations: when the same strays between the brows or under the arch return every time; when light, gray, or very fine hairs do not respond well to other options; when a client's skin reacts to waxing even with careful technique; and when someone has a history of dark marks from repeated irritation. Electrolysis treats one follicle at a time, so it takes a series of sessions, and it should only be done by a licensed or appropriately credentialed electrologist where your state requires one.
There is one important caution. Because electrolysis is permanent, the shape must be settled before treatment. I never permanently remove hair from a brow that is still growing out from overplucking, and I stay conservative near the brow line, since fashion in brow shapes changes and the client's face changes with age. Clearing the center and obvious far strays is usually safe. Refining the arch permanently deserves a slower conversation. My guide to eyebrow shaping with electrolysis explains how that process works and how to decide which hairs to treat.
Licensing and Training for Eyebrow Waxing
In most US states, waxing another person's eyebrows for payment requires a license. Depending on the state, that license may be esthetics, cosmetology, or a specific waxing or hair removal credential, and a few states structure it differently again. Requirements for training, exams, and renewal vary from state to state and change over time, so the only reliable source is your state board. You can compare how states handle this on our waxing licensing hub and, if you are considering the broader esthetics route, on the esthetics licensing overview.
Training matters beyond the legal requirement. Brow work needs supervised practice on real faces, feedback from an experienced instructor, and time to develop the eye for shape and balance. Online courses are useful for theory: skin anatomy, hair growth, contraindications, sanitation principles, wax chemistry, and client communication. They build understanding, but they never replace the in-person training hours or the license your state requires. If you are exploring structured learning, our waxing courses page describes how theory programs fit around state-approved hands-on training.
If you are brand new to the field, begin with the fundamentals before focusing on brows. My guide on where to start as a beginner waxer covers the first months of practice, and the full career path, from choosing a license to building a client base, is in how to become a waxing specialist. Brows often become a signature service for waxers who master them, because clients who trust you with their face tend to rebook reliably and refer friends.
Your Next Step
If you are a student or new professional, pick one part of this guide to practice deliberately this week. For most people that should be mapping: map every brow you work on, outline it with pencil, and check your wax edges against the line before removal. Once that habit is automatic, your results will become consistent, and consistency is what turns first-time brow clients into regulars. Then confirm the exact licensing path for your state so your training leads somewhere legal and lasting.
If you are a client, use this guide to judge your next appointment. A good professional will ask about your skincare and medications, map your brows before waxing, work in small sections, show you the result partway through, and give you clear aftercare. If your brows keep getting thinner, ask for a grow-out plan. If the same strays keep returning, ask whether electrolysis could handle them permanently. Either way, you now know what careful eyebrow waxing should look like.
State Requirements
State licensing guides
Hours, exams, fees, and the licensing board differ by state. Open your state for the current requirements.
Common Questions
FAQ
Many professionals prefer hard wax for eyebrows because it grips the hair more than the skin, which is gentler near the eyelid and on sensitive skin. Soft wax can create very crisp lines on fine hair but adheres more to the skin and should not be applied twice on the same spot. Both work well in trained hands. Learners usually find hard wax easier to control.
The hair needs to be long enough for the wax to grip it, so very short regrowth will not wax cleanly. If you have been tweezing at home, stop and let the brows grow out before your appointment so your professional can see the full natural shape. Clients growing out overplucked brows may need a longer pause so sparse areas can fill in before refining.
Retinoids thin and sensitize the outer skin and are a leading cause of lifting during eyebrow waxing. Tell your waxing professional about any retinoid product, including over-the-counter retinol. You will usually need to pause it on the brow area before waxing. If you take oral isotretinoin, do not wax. Ask the prescribing physician when your skin is ready.
Temporary redness, mild swelling, and small bumps are the most common and usually settle quickly. Less common are skin lifting, burns, bruising, and dark marks, especially on sensitized or deeper skin tones. Careful consultation and technique prevent most of these. See a physician if you notice blistering, oozing, crusting, spreading redness, or signs of infection.
No. Waxing does not make hair grow back thicker or darker. Regrowth can feel coarser at first because the new hair has a blunt tip as it emerges, but the follicle itself is not changed in a way that adds thickness. Repeated waxing or plucking over years can actually weaken some follicles, which is why over-waxed brows sometimes stay thin.
Both are valid. Threading removes hair in fine lines without heat or product on the skin, which some clients with sensitive skin prefer. Waxing removes groups of hair quickly and gives a very clean finish. The skill of the professional matters more than the method. Neither method is permanent, so persistent strays may be better suited to electrolysis.
In most states, yes. Waxing for pay usually falls under an esthetics, cosmetology, or specific waxing license, and requirements differ by state. Online study can build your theory, but it does not replace in-person training or licensure. Check your state board rules before offering brow services to clients.
Often they can, although it takes patience and depends on how long and how aggressively the hair was removed. Stop all waxing and tweezing near the brow line, let a professional remove only clear strays far from the shape, and book a mapping appointment once the hair has filled in. If growth stays sparse, a physician or dermatologist can assess the cause.
Keep Reading
Related Guides


