Cosmetology
Cosmetology Practical Exam Kit Checklist for Test Day
Quick answer
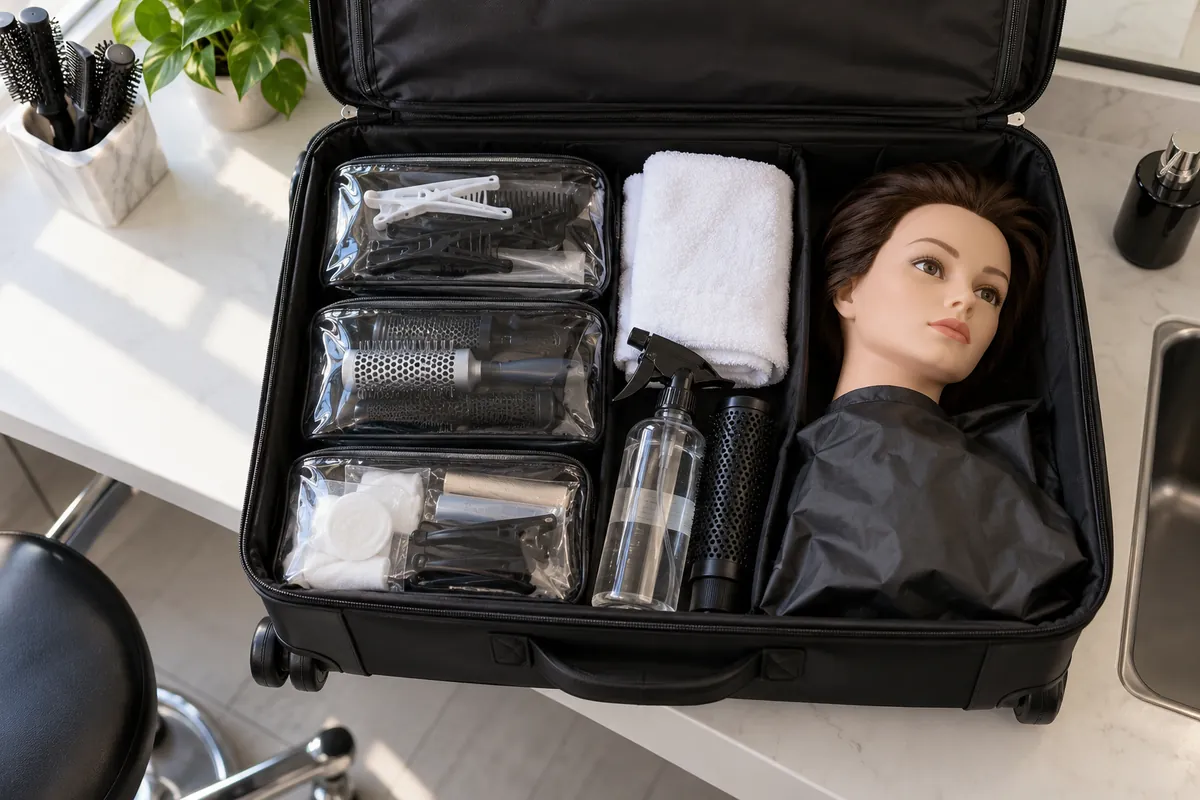
Pack your cosmetology practical exam kit from your state board's official candidate bulletin, not from a school list alone. Bring every required tool, clean linens, a properly clamped mannequin or approved model, labeled products and disinfection supplies, plus spares of small items. Rehearse the full sequence once with the packed kit, and verify rules for each item with your board before exam day.
A cosmetology practical exam kit is the set of tools, products, linens and disinfection supplies you carry into the state board practical exam so you can perform each required service in front of an examiner. The exam itself tests whether you can work safely and in the right order. The kit decides whether you get the chance to show that. A missing spray bottle, an unlabeled jar or a mannequin that will not stay on its clamp costs points before you touch a single strand of hair, and in some exams a missing safety item can stop a section entirely.
I am Aida Khazieva, a licensed cosmetologist and electrologist with more than twenty years in the field, and I have helped many students pack, label and repack their kits the week before the board. This guide is only about the kit: what typically goes in it, how to label it, how to set up your station and sanitation, and how to prepare your mannequin. Contents vary by state and by testing provider, so treat everything here as a working template you check against your own candidate bulletin. If you want the full study plan for the written and practical parts, read my guide on how to pass the cosmetology state board exam first, then come back here to build the box.
Start With the Candidate Bulletin, Not a Shopping List
Every state board, or the testing provider it contracts with, publishes a candidate information bulletin for the practical exam. That document is the only list that counts. It names the services you will perform, the order of the sections, the time allowed for each one, which items are required, which are optional, and which are prohibited. Some bulletins give a detailed supply list section by section. Others give a shorter list and expect you to infer the rest from the task descriptions. Read it twice: once to understand the exam, and once with a highlighter, marking every noun that is a physical object you must bring.
Students get into trouble when they build a kit from a video made for a different state or from a classmate who tested with a different provider a few years ago. Requirements change. One provider may want a liquid disinfectant labeled as EPA-registered in its original container, another may accept a prepared solution in a labeled jar, and a third may supply some items at the station. The same applies to mannequins: some exams want a specific hair length or type, some allow a stand and some require a table clamp. Print the current bulletin, date it, and keep it in the front pocket of your kit so you can check it again on exam morning.
Once you have the bulletin, turn it into your own checklist with three columns: the item, the section where it is used, and a box to tick when it is packed. Group items by exam section rather than by type of product. When the examiner announces the next section, you want to reach into one bag and pull out everything for that service, not dig through a tub of loose combs while the clock runs. This one habit does more for a calm practical exam than any expensive tool.
What Typically Goes in a Cosmetology Practical Exam Kit
Below is a general template based on the services that commonly appear on cosmetology practical exams: set up and client protection, thermal styling, haircutting, chemical services such as a simulated permanent wave or relaxer application, hair color application, and often a manicure or a basic facial or eyebrow service. Not every state tests every one of these, and some add or drop services. Use the template as a starting point, cross out what your bulletin does not include, and add anything it lists that is not here.
| Category | Items commonly listed | Notes from practice |
|---|---|---|
| Infection control | EPA-registered disinfectant, hand sanitizer, clean and soiled containers or bags, paper towels, gloves | Original container or labeled jar, depending on the bulletin |
| Linens and client protection | Towels, neck strips, a cape, a chemical cape if required | Fresh, folded, stored in a closed bag |
| Mannequin and mounting | Mannequin head or heads, clamp or stand, spare mannequin if allowed | Prepared in advance as the bulletin describes |
| Haircutting | Shears, razor if listed, combs, sectioning clips, spray bottle with water | Razor blade guards and a sharps plan if blades are used |
| Thermal styling | Thermal iron or blow dryer as listed, round brush, heat protection items | Some exams use cold tools only; check before packing heat |
| Chemical services | Rods, end papers, applicator bottles, protective cream, cotton, timer if allowed | Often simulated with water, never live chemicals unless stated |
| Hair color | Bowl, brush, applicator bottle, color-safe gloves, clips | Usually a simulated product; label exactly as instructed |
| Nail or skin service | Implement set, files, cuticle pusher, cotton, polish if listed | Single-use items stay sealed until the section begins |
Two things are easy to forget because they feel too obvious. The first is your admission paperwork and identification. Many providers will not let you in without the exact identification type named in the bulletin, and the name must match your registration. The second is a small plain bag for trash and used single-use items, if your bulletin allows one. Examiners watch where you put used cotton, neck strips and gloves. Having a clear place for them makes your infection control visible without extra words.
Some candidates also add a copy of their state's list of approved items and any letter from their school confirming completion. These do not replace what the testing provider requires, but they can help if a question comes up at check-in. Keep them in the same folder as your bulletin and your identification, sealed against spills, so that everything with your name on it lives in one place and nothing with your name on it ends up on the work table.
Infection Control Supplies: The Part Examiners Notice First
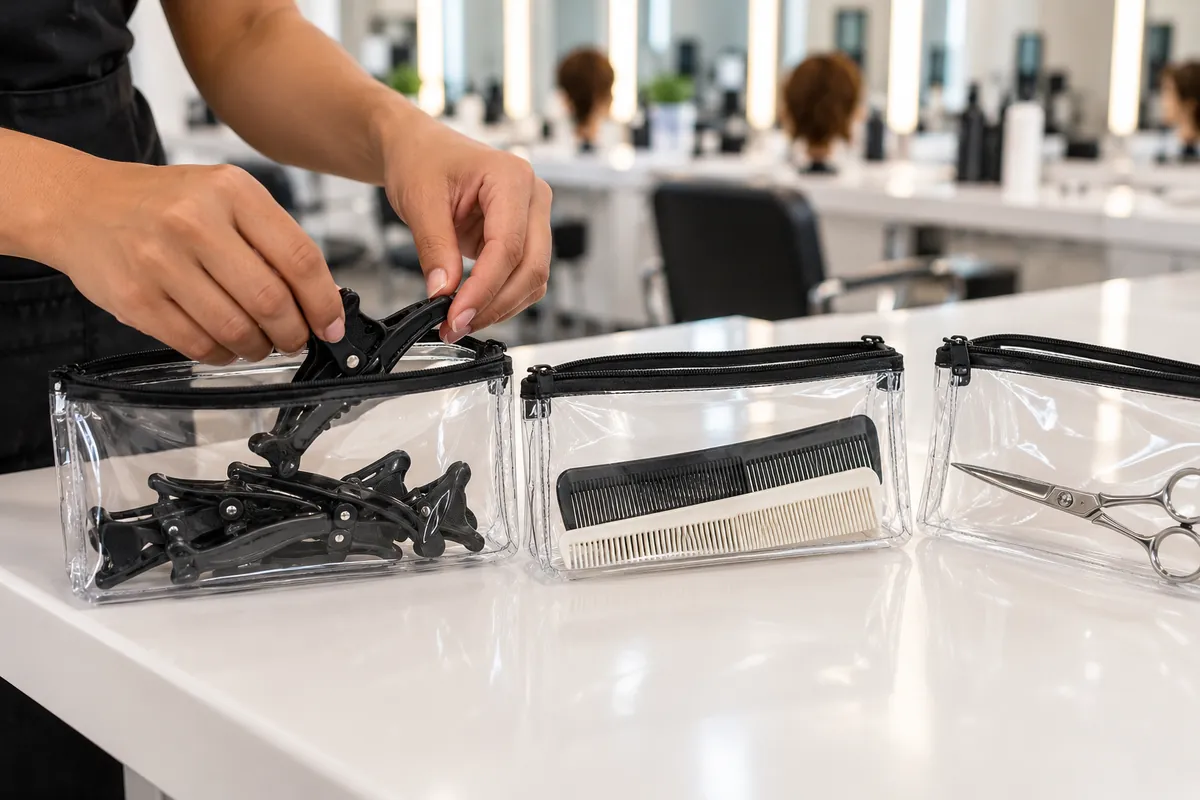
In my experience, more practical exam points are lost on infection control than on technique. The examiner is not only checking whether your cut is even. They are checking whether you disinfect your work surface, sanitize your hands at the right moments, keep clean and used items apart, and handle anything that touches the mannequin as though it touched a real client. Your kit has to make all of that possible and obvious.
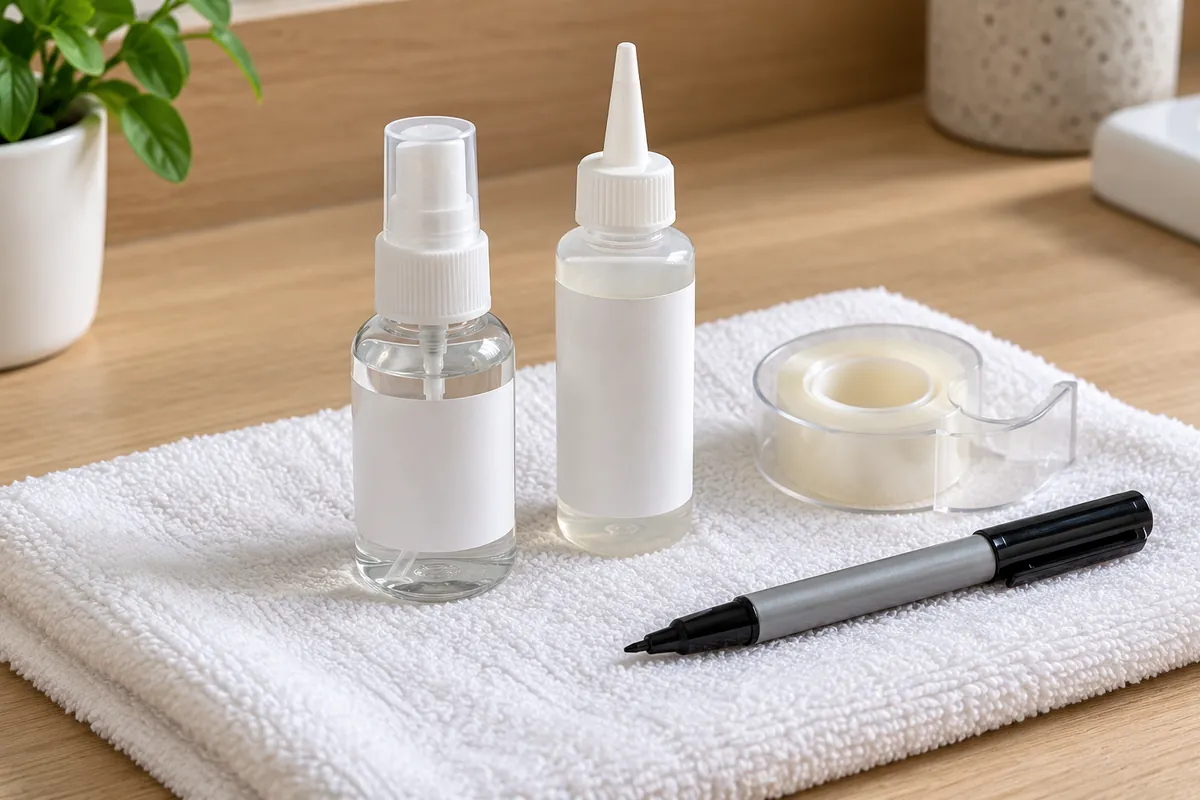
Start with the disinfectant. Most bulletins ask for an EPA-registered hospital-grade disinfectant, and many specify how it must be presented: in the manufacturer's labeled container, or in a spray bottle with a label naming the product. Some require that you show the label to the examiner. Do not pour disinfectant into an unmarked bottle to save space. An unlabeled liquid on a practical exam station reads as a safety failure, because in a real salon nobody should ever have to guess what is in a bottle. Next comes hand sanitizer, again labeled, and a supply of paper towels to wipe the station.
Then think about separation. You need a clean container, which holds tools that have been disinfected and are ready to use, and a container or bag for used items that must not go back on the table. Many students use two clearly different bags, sometimes with a label on each such as clean and used, or wording the bulletin specifies. The exact words matter less than the logic: an examiner should be able to look at your station at any moment and tell which items are safe to use. If you drop a comb on the floor during the exam, it goes straight to the used container and you take a clean spare. That means your kit needs spares of the tools you are most likely to drop.
Gloves are another frequent stumbling point. Some sections require gloves, for example chemical and color application, and some bulletins require them whenever you handle disinfectant. Bring more pairs than you think you need, in your size, in a closed box or bag. If you have a latex sensitivity, use nitrile and know that the examiner only cares that gloves are worn when required and removed and discarded correctly. Changing gloves between sections, and sanitizing your hands after removing them, is exactly the kind of routine examiners hope to see.
Labeling Your Kit So the Examiner Can Read It at a Glance
Labeling sounds like a small detail until you watch an examiner walk down a row of stations with a clipboard and a fixed amount of time per candidate. Clear labels let them confirm your setup in seconds. Unclear labels force them to ask, guess or mark you down. The bulletin may tell you exactly what each label must say. If it does, copy that wording letter for letter. If it does not, use plain names that describe the contents: disinfectant, hand sanitizer, water, simulated permanent wave solution, simulated hair color, protective cream, clean, used.
For simulated products, the rule I teach is to label for what the product represents in the exam, not for what is actually inside. If the bulletin says the permanent wave solution is simulated with water, your applicator bottle carries the name of the product it stands in for, plus the word simulated if your provider asks for it. A bottle simply labeled water, sitting in the chemical section, can confuse the examiner about which step you are demonstrating. When in doubt, follow the precise wording from your school's mock board, since instructors usually mirror the provider's expectations.
- Use waterproof labels or clear tape over paper labels, because water and disinfectant smear ink fast.
- Write in block capitals large enough to read from a step away.
- Label the bottle itself, not only the bag it travels in.
- Label clean and used containers on more than one side so they read correctly however they are turned.
- Do not add your name, school name or logos unless the bulletin allows it, since many exams are anonymous.
- Check that every label survives a quick wipe with a damp towel before exam day.
One point many students miss: anonymity. Several practical exams forbid any identifying information on your kit, mannequin or tools, so the examiner scores you as a candidate number, not as a name or a school. Remove name tags, school stickers and engraved monograms, or cover them if the bulletin allows. If your mannequin has your school's mark on the base, ask your instructor how previous candidates dealt with it. It is much easier to fix that a week before than at check-in.
Packing by Exam Section: The System That Saves Minutes
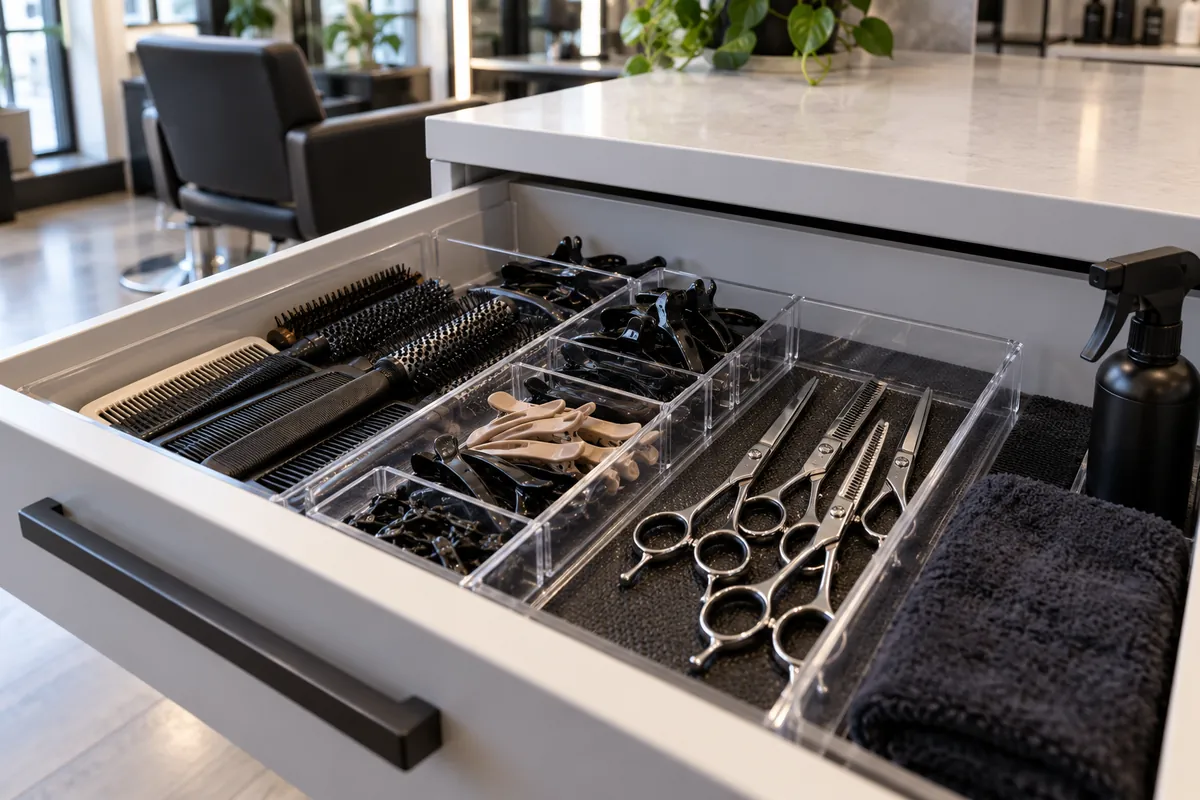
The best practical kits I have seen look a little boring. Each exam section has its own clear bag or compartment, and inside each one sits every item for that service, in the order you will use it. The bag for thermal styling holds the iron or dryer if allowed, the brush, the clips and anything else for that step. The bag for chemical waving holds rods, end papers, protective cream, cotton and the labeled applicator bottle. You lift the bag out, place it on the station, set up, perform, clean up, and put the used items in the used container. Then the next bag comes out.
This approach does three things. It cuts the time you spend searching, which matters because many sections run on a strict clock. It reduces the chance that you contaminate clean tools by digging with used hands. And it shows the examiner an organized professional. A clear bag lets them see the contents without asking you to unpack, which is why many students prefer transparent pouches over colored ones. Some bulletins also require that certain items be in clear containers for inspection, so check before you buy opaque organizers.
I also recommend a separate small bag for spares: a spare comb, a few extra clips, extra end papers, extra gloves, extra neck strips, and a second towel. Spares rescue you when something falls, tears or gets used up early. Keep the spares bag in a predictable spot, such as the front of your tote, and practice reaching for it during mock exams. Under exam stress, people forget where things are. A kit packed the same way every time means your hands find what you need even when your head is busy.
Sanitation Setup at the Station, Step by Step
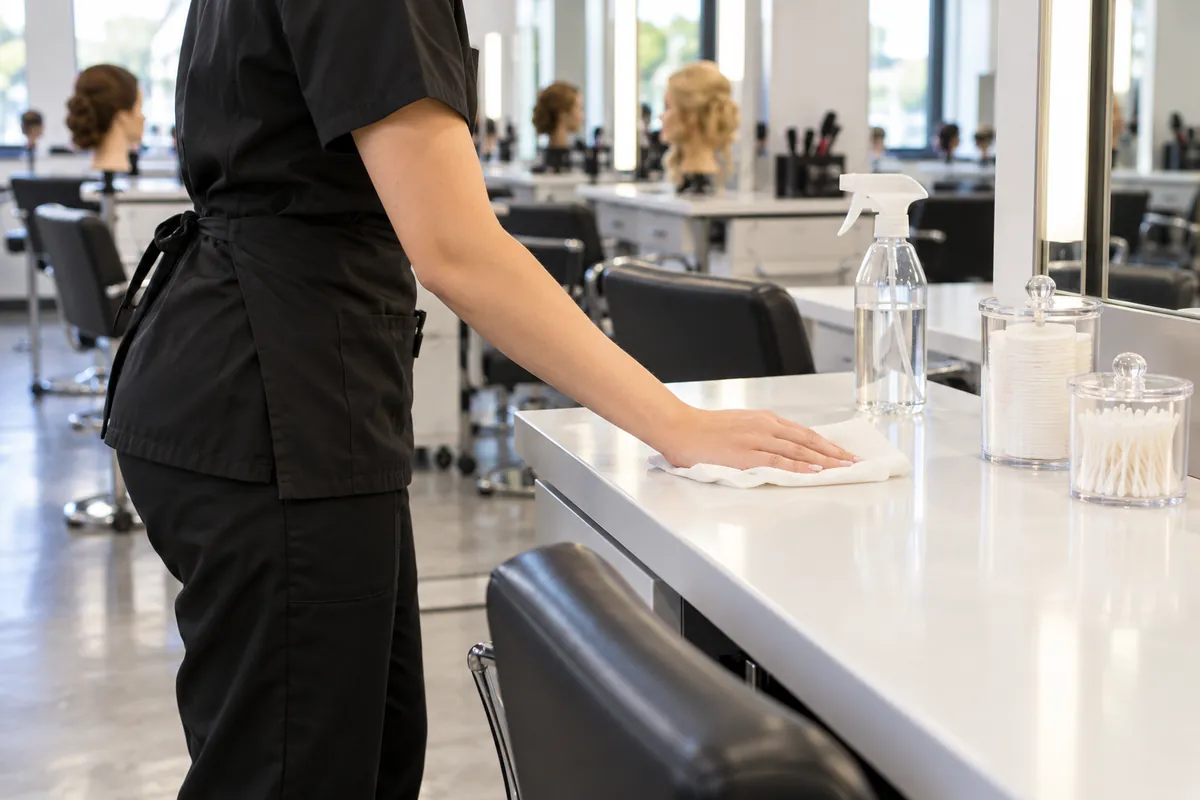
Most practical exams begin with a setup period, and some score the setup itself. Even where setup is not a scored section, it shapes how the examiner sees everything that follows. Practice it until you can do it without thinking. The sequence below is a common pattern taught in schools. Adjust it to your bulletin, especially the order of hand sanitizing and surface disinfection, because some providers specify the order.
- Sanitize your hands with the labeled hand sanitizer.
- Disinfect the work surface with the labeled disinfectant and a clean paper towel, following the product's contact time as instructed.
- Place a clean towel or paper barrier on the station if the bulletin calls for it.
- Set out your clean container and your used container in clearly separate positions.
- Mount the mannequin securely on its clamp or stand and check that it does not rotate.
- Drape the mannequin with a neck strip and cape for the first section.
- Lay out only the tools for the first section, on the clean side.
- Sanitize your hands again before beginning the service.
The contact time on a disinfectant is the period the surface must stay wet for the product to work. It is written on the manufacturer's label. Your bulletin may simply ask you to spray and wipe, or it may expect you to describe or respect contact time. Know the contact time of the product you bring, because examiners sometimes ask. This is also good practice for real salon work, where quick spray-and-wipe habits are exactly what inspectors look for.
Between sections, run a mini version of the same routine: used tools to the used container, wipe the surface if required, sanitize hands, set out the next section's tools. Many students lose points not during a service but in the transition, when they are relieved to finish one section and rush into the next with the old comb still on the table. Slow, visible transitions earn more than fast, sloppy ones.
Mannequin Prep: Hair, Mounting and Readiness
The mannequin is your client for the day, and most of the stress I see before the board is about the mannequin. Bulletins often describe how the mannequin must arrive: hair length, whether it must be pre-cut, pre-sectioned, clean and dry, damp, or free of product, and whether eyebrows or a beard are needed for certain sections. Some exams require two mannequins, one for the haircut and one for chemical or color work. Read these lines carefully because a mannequin in the wrong condition can mean you cannot perform a section at all.
Prepare the hair in the days before the exam, not the night before. Wash it with a gentle shampoo, condition it, detangle it from the ends up, and let it dry completely so you know how it will behave. If your bulletin asks for a precut or a specific length, cut it with time to spare and check the length against the requirement. Mannequin hair can tangle badly in a bag, so brush it out, put it in a loose braid or a smooth low ponytail if allowed, and store it with a cape around it. Check it again the morning of the exam.
Mounting is the part people practice least and worry about most when it fails. The clamp must fit the edge of the station in your testing room, which you may not see until exam day. Practice on several table edges at school, including thick and thin ones. Tighten it so the head does not rotate when you comb with force. If the bulletin allows a backup clamp, bring it. A mannequin that slowly swings away while you section a haircut makes clean partings almost impossible and adds tension you do not need.
If your exam includes a section on the mannequin's face, such as an eyebrow or facial service, check the skin of the mannequin too. Clean off old makeup or residue, make sure the brows are present if needed, and confirm the surface is not cracked where you will work. Keep a soft cloth in your kit to wipe the face before that section. These small steps show the same respect for the client that you would show a real person in the chair, which is exactly what the practical exam is designed to measure.
Tool Condition: What Matters and What Does Not
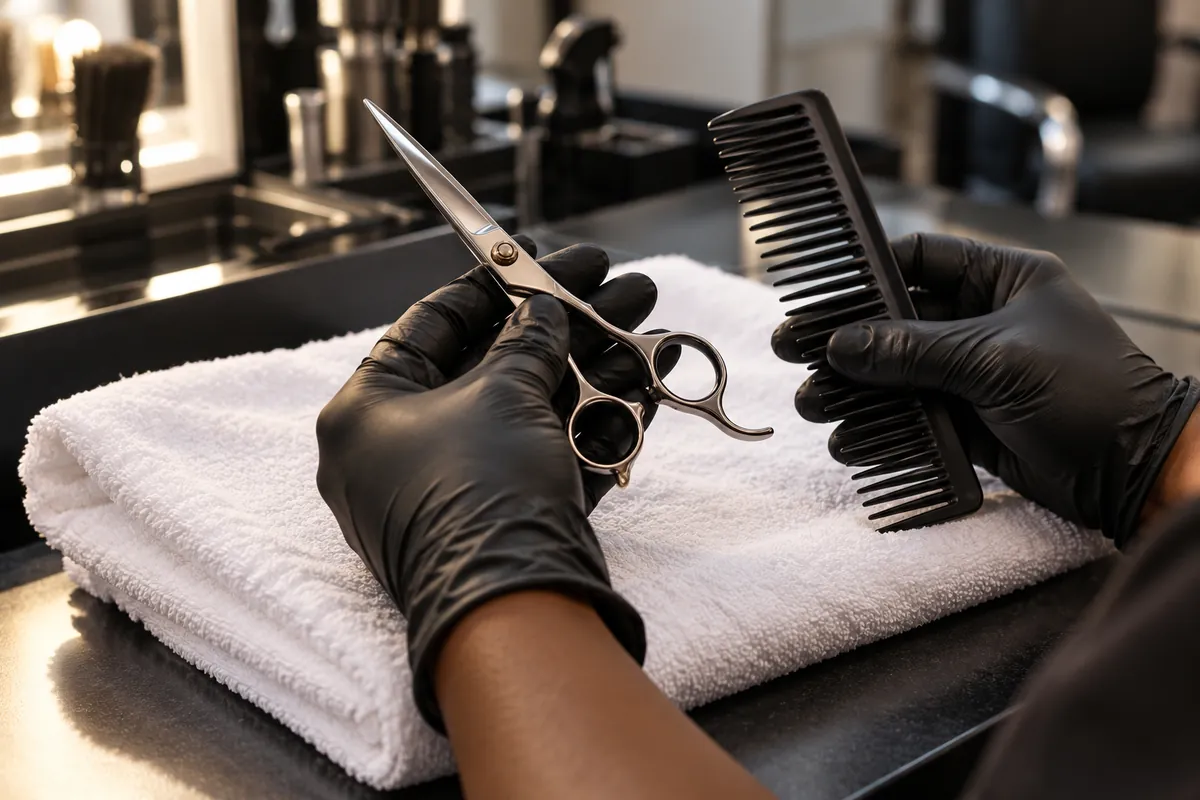
You do not need the most expensive shears or the newest dryer to pass. Examiners score safety, procedure and results, not brand names. What does matter is that every tool works, is clean, and is appropriate for the task. Shears should be sharp enough to cut cleanly without folding the hair. Combs should have no broken teeth. Clips should hold. Brushes should be free of hair and lint. A dull blade or a cracked comb slows you down and can look careless, and a broken tool on a station can read as a hazard.
Clean and disinfect every non-porous tool before you pack it, then store it in a closed clean bag so it stays that way. Porous single-use items, such as files, cotton and end papers, should be new and sealed. Many bulletins require that single-use items be new and unopened, and some want you to open them in front of the examiner. Do not prepare these in advance by cutting cotton into neat pieces in an open container. Keep them in a sealed bag and handle them with clean hands during the section.
If heat tools are allowed, check cords for damage, make sure plugs fit standard outlets, and know whether the testing site provides power at each station. Some practical exams simulate thermal work with cold tools to avoid burns and power issues. Others allow heat. Bring only what your bulletin allows, and if heat is not permitted, do not bring a heated tool at all, since a prohibited item on the station can be treated as a violation even if you never plug it in.
Prohibited Items and Common Packing Mistakes
Bulletins usually include a list of items you may not bring. The exact list varies, but the logic is consistent. Exams prohibit things that give an unfair advantage, things that create safety risks, and things that make the exam less anonymous. Typical examples include notes or written instructions, phones and smart watches on the station, live chemicals where simulation is required, and anything bearing your name or school. Some exams also limit the size of the bag you can bring into the room.
Beyond the official list, here are mistakes I see again and again when students show me their kits before the board. These are not rules from a specific provider. They are habits that cost time or points across many exams.
- Disinfectant decanted into an unlabeled bottle.
- Clean and used tools stored in the same bag.
- Only one comb, with no spare for a dropped tool.
- Mannequin hair still damp and tangled from the night before.
- A clamp that fits only the thin tables at school.
- Gloves in the wrong size, or not enough pairs.
- Single-use items opened and loose in the tote.
- Labels written in ink that runs when wet.
- School logo or candidate name visible on the mannequin base.
- No printed bulletin to check at the last minute.
Every one of these is easy to fix with a week of lead time and very hard to fix in a parking lot on exam morning. That is why I tell students to finish packing at least several days early and then do a full mock exam using only what is in the kit. If you have to borrow a single item from your school station during the mock, that item is missing from your kit.
Run a Full Mock Exam Using Only Your Kit
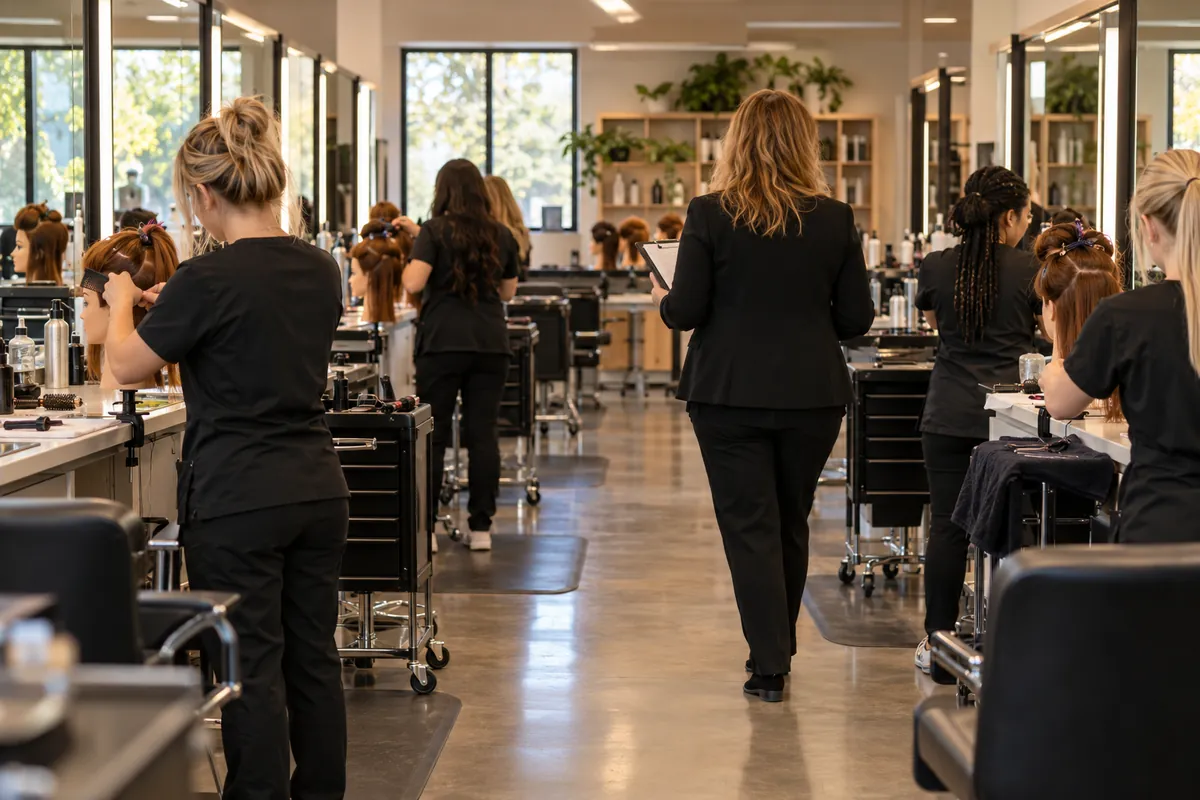
A packed kit is a theory until you use it under exam conditions. Ask your instructor for a mock board, or set one up with classmates. Use a timer, follow the section order from your bulletin, and work only from your kit. Have someone play the examiner, walking past your station, calling time and watching your infection control. Afterward, look at what slowed you down. Was a bag in the wrong order? Did you run out of gloves? Did the clamp slip? Fix each problem and run the mock again.
Pay attention to how your station looks at the end of each section. An examiner often scores cleanup as part of the procedure. Practice leaving the station as clean as when you started: used items in the used container, surface wiped, tools for the next section ready on the clean side. If you have trouble remembering the routine, write the transition steps on a card and practice with it until you no longer need it. Do not bring that card to the exam, since notes are usually prohibited.
Mock exams also show you what you over-packed. Many students carry far more than they need, which makes the tote heavy and the search slower. If an item never left its bag across two full mocks and it is not required by the bulletin, consider leaving it home. A lighter kit is easier to carry, faster to set up and simpler for an examiner to inspect.
The Night Before and Exam Morning
The night before is for checking, not shopping. Lay the kit out on a clean table, go through your three-column checklist, and touch every item. Check that bottles are full enough and tightly closed, that labels are intact, that single-use items are sealed, and that your mannequin is dry, detangled and wrapped. Put your identification, admission letter and printed bulletin in the front pocket. Charge nothing that you are not allowed to use. Then close the tote and do not reopen it unless you remember something specific.
On exam morning, eat, dress in whatever the bulletin requires, which is often closed-toe shoes and a clean professional outfit, and arrive early. Testing sites can be in unfamiliar buildings with long check-in lines. Some providers inspect kits at check-in, and arriving with time to spare means you can calmly fix a problem if they flag one. Bring a simple snack and water to leave outside the testing room if allowed, because long practical exams are tiring.
When you reach your station, take a breath before you unpack. Follow your practiced setup routine exactly, even if others around you seem faster. The examiner is scoring you, not the room. If something goes wrong, such as a dropped tool, handle it the way you would in a salon: to the used container, sanitize hands, take the spare. Calm, correct responses to small problems are a sign of a safe professional, and examiners tend to notice them.
After the Practical Exam: Turning the Kit Into Your First Salon Kit
Once you pass, the habits you built for the kit carry straight into your first job. Separate clean and used tools, label every container, know the contact time of your disinfectant, and keep spares within reach. Health inspectors look for the same things examiners do, and clients notice a clean, organized station without being told. Many of my former students still pack their station bags in the same order they used for the board.
After the exam, clean and disinfect the tools you used, throw away single-use items, and restock what you will need for work. Your next steps are applying for the license itself if your state does not issue it automatically, and then keeping it current. The cosmetology licensing hub lists each state's board so you can follow the official process, and my guide on how to renew a cosmetology license explains what comes after that first card arrives.
If You Are Still in School: Building the Kit Over Time
If you are early in your program, you do not need to buy everything at once. Most schools include a student kit in tuition or sell one, and many of those tools will be what you use at the board. Ask your school which items in the student kit match the practical exam requirements in your state, and which you will need to add. Buy additions gradually, test them in class, and replace anything that fails long before exam season.
Use your clinic floor time to build exam habits too. Every time you set up for a real client, run the same sequence you will use at the board: sanitize hands, disinfect surface, separate clean and used, lay out only what you need. By the time you sit the practical exam, the setup will feel automatic. Theory study can support this, and an online program such as our cosmetology course can help you review infection control and service procedures between classes. It does not replace the in-person hours or the practical training your state requires for licensing.
Finally, talk to recent graduates of your school who tested with the same provider. Ask what surprised them on exam day, how check-in worked and whether anything in their kit was questioned. Their experience will not replace the bulletin, but it can point you to lines in it that deserve a second reading. Compare what they say with the current bulletin, since requirements may have changed since they tested.
Your Next Step
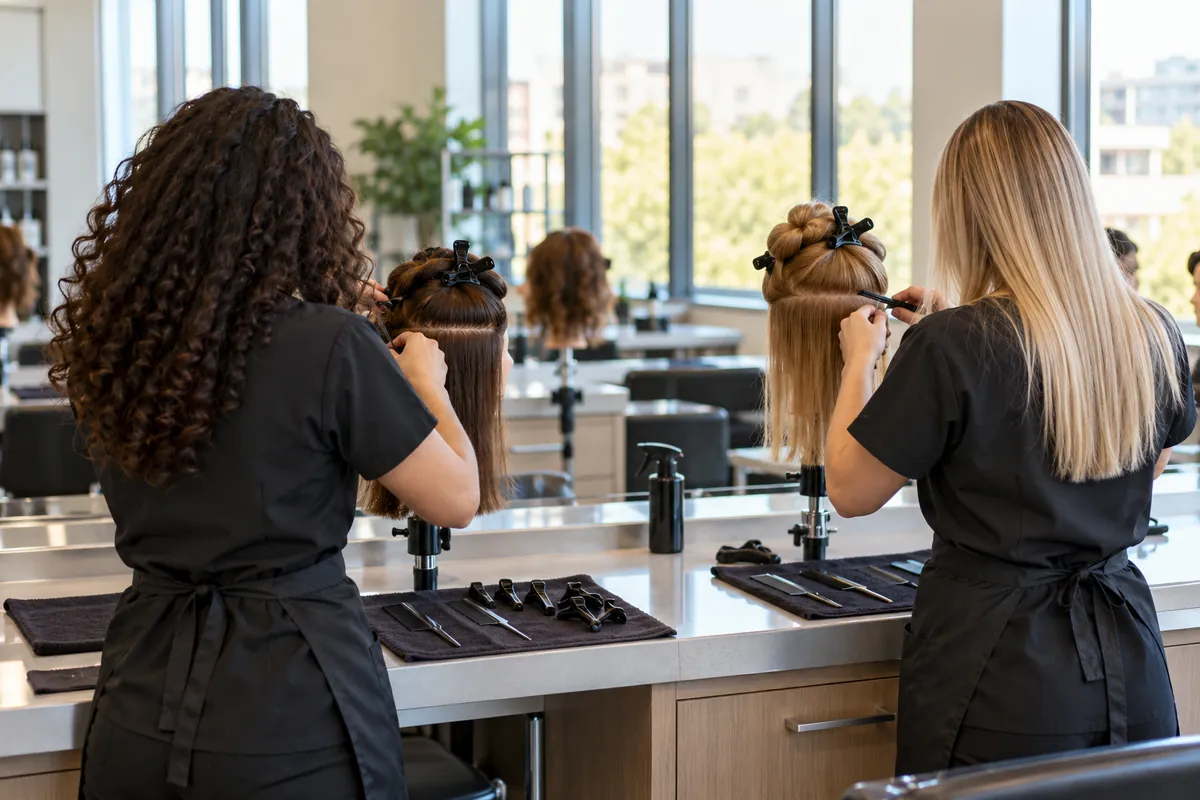
Download the current candidate bulletin from your state board or its testing provider today, print it, and turn it into a three-column checklist organized by exam section. Pack in clear bags, label everything clearly, prepare your mannequin days in advance, and run at least one full timed mock exam with only your kit. If you are still choosing a program, compare options on our beauty schools directory and ask each school how it prepares students for the practical exam.
State Requirements
State licensing guides
Hours, exams, fees, and the licensing board differ by state. Open your state for the current requirements.
Common Questions
FAQ
You need the items listed in your state's candidate information bulletin, which usually include labeled disinfectant and hand sanitizer, clean and used containers, towels, neck strips and capes, a prepared mannequin with a clamp or stand, and tools for each tested service. Requirements vary by state and testing provider, so check the current bulletin and your state board through our cosmetology licensing hub before you pack.
Some testing sites provide certain items, such as water, power or a basic station, while others expect candidates to bring almost everything. This differs between providers and sometimes between testing locations. The candidate bulletin normally explains what is supplied. If it is unclear, contact the testing provider directly well before exam day rather than assuming an item will be available.
Use the exact wording your bulletin specifies if it gives one. If it does not, label each container with a plain description of its contents or of the product it simulates, such as disinfectant, hand sanitizer or simulated permanent wave solution. Use waterproof labels or tape over paper, write in large block capitals, and avoid names or school logos where anonymity is required.
Read the mannequin requirements in your bulletin, including hair length, condition and whether a precut is needed. Wash, condition and fully dry the hair several days ahead, detangle it, and store it covered. Practice mounting the clamp on several table edges so it holds firmly. Remove any identifying marks if the exam is anonymous, and check everything again the morning of the exam.
Many cosmetology practical exams simulate chemical and color services, often with water or another substitute, to protect candidates and examiners. Some allow certain products. Your bulletin states which applies. Bringing live chemicals when simulation is required can be treated as a violation, so follow the instructions exactly and label simulated products as directed.
It depends on the item and the provider. Forgetting a non-essential tool may only slow you down, but missing a required safety item, such as disinfectant or gloves, can cost points or prevent you from completing a section. Some providers do not allow borrowing. That is why a checklist built from the bulletin and a full mock exam with only your kit are worth the time.
Often they overlap a lot, but they are rarely identical. Your school kit was built for training, and the exam kit must match the testing provider's current requirements. Ask your instructors which student kit items are acceptable for the board, then add or replace items to match the bulletin. My guide on passing the cosmetology state board exam covers the rest of your preparation.
Keep Reading
Related Guides


