Electrolysis
Autoclave and Sterilization for Electrolysis: Infection Control

Quick answer
In electrolysis, probes are presterilized, single use and discarded in a sharps container after each client. Reusable tweezers are cleaned, pouched and sterilized in an FDA-cleared autoclave run exactly per the manufacturer instructions. Chemical indicators and regular spore tests confirm the cycles work, surfaces are disinfected between clients with respect for contact time, and every cycle, test and disposal is logged. Your state board sets the specific rules.
Sterilization is the part of electrolysis that clients never see and always assume. They see a clean room, a fresh paper on the treatment table, and a practitioner pulling on gloves. They do not see the probe packaging, the autoclave cycle that ran the night before, the spore test envelope that went out in the mail, or the logbook where every one of those steps was written down. In my practice I treat that invisible work as the real foundation of the service. A perfect insertion means nothing if the forceps that lifted the hair were not sterile.
This guide walks through infection control in an electrolysis room the way I would explain it to a new graduate setting up a first treatment room: what has to be single use, what can be reprocessed, how an autoclave fits into the workflow, what biological monitoring (spore testing) is for, and how to keep logs that would satisfy an inspector. It stays general on purpose. Each state board writes its own sanitation rules, so your exact requirements live on your state page in our electrolysis licensing hub, and the details below should always be checked against them.
Why sterilization matters more in electrolysis than in most beauty services
Electrolysis is an invasive procedure in the plain sense of the word. A probe enters the hair follicle, current is delivered below the skin surface, and the follicle opening stays briefly vulnerable afterward. Tweezers touch that opening when the treated hair is lifted. Tiny amounts of tissue fluid and, occasionally, blood are part of normal work, especially on coarse or distorted follicles. That puts electrolysis much closer to tattooing or a dental hygiene visit than to a haircut when you think about pathogens that travel through blood and tissue.
Bloodborne pathogens such as hepatitis B, hepatitis C and HIV are the reason sanitation standards in electrology are stricter than in many other licensed beauty services. Bacterial infections are the more common everyday risk: a folliculitis flare or a small pustule that a client blames on the treatment. Good infection control lowers both. It also protects you. A practitioner handles hundreds of insertions a day, and a needlestick from a used probe is a real occupational exposure that deserves a written plan, not a shrug.
Cleaning, disinfection and sterilization: three different jobs
Cleaning removes visible debris, oils, tissue and bioburden from a surface or instrument. It is done with detergent, water and friction, or with an ultrasonic cleaner. Cleaning does not kill everything, but nothing else works properly without it, because a disinfectant or a steam cycle cannot reach microbes trapped under dried residue. Every reusable instrument gets cleaned first, every time, no exceptions for "it looks fine."
Disinfection uses a registered chemical disinfectant to kill most microorganisms on surfaces and some noncritical items. It is what you use on the treatment table, the cart top, the lamp arm, the machine housing, the door handle and the epilator cord. Disinfectants are labeled with a contact time, which is how long the surface must stay visibly wet to achieve the claim on the label. Wiping and immediately drying a table is cleaning, not disinfection. Read the label of whatever product you choose and follow its contact time literally.
Sterilization destroys all forms of microbial life, including bacterial spores, which are the hardest organisms to kill. In an electrolysis room it applies to anything that touches broken skin or enters the follicle and is not single use. In practice that means reusable tweezers, and any other reusable instrument your state classifies as critical. The common method in small studios is a steam autoclave. Some offices use dry heat sterilizers, and a few use other validated methods; whatever you use, it must be a device designed and cleared for sterilizing instruments, run according to its manufacturer instructions.
| Item | Typical processing level | Notes |
|---|---|---|
| Electrolysis probes | Single use, presterilized, discarded in sharps | Opened in front of the client, never reused |
| Tweezers / forceps | Clean, package, sterilize | Keep several sets so one is always ready |
| Probe holder tip and cap | Clean and disinfect per manufacturer | Some practitioners use barriers as well |
| Treatment table, cart, lamp | Clean and disinfect between clients | Respect the label contact time |
| Linens and table paper | Fresh for each client | Launder linens per your state rules |
| Gloves | Single use | New pair for each client and after any break |
Single-use probes and other disposables
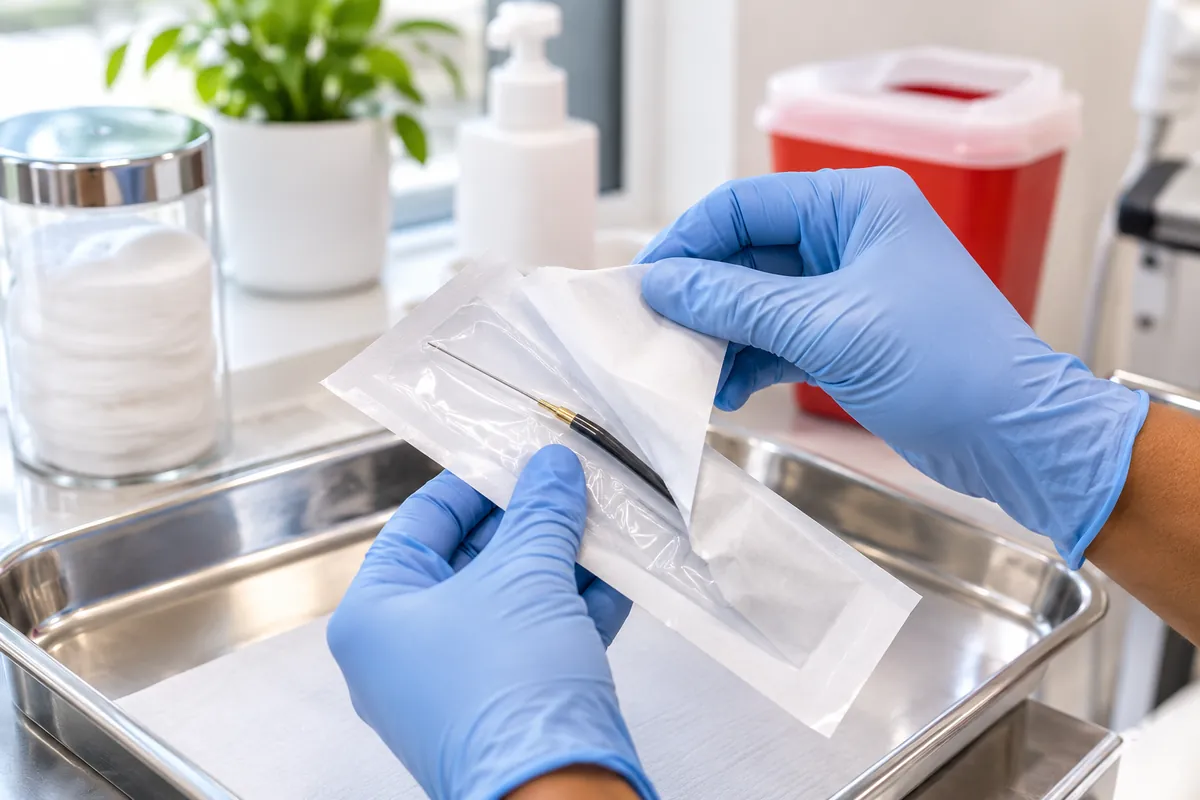
The electrolysis probe is the most critical item in the room, and the professional standard today is a presterilized, single-use, disposable probe. It arrives in sealed packaging from the manufacturer, it is opened at the start of the treatment, ideally where the client can see it, and it goes straight into a sharps container when the session ends or when the probe dulls or bends during the session. I keep spare sealed probes in the sizes I use most on the cart so that changing a probe mid-treatment never tempts anyone to "make it last."
Check every probe package before opening. The seal should be intact, the package dry and undamaged, and the expiration or sterility date, if the manufacturer prints one, still valid. A pinhole, a wet spot, or a torn corner means the item is no longer sterile and goes in the trash. If you want a deeper look at probe sizes, materials and insulated versus bare types, our guide to electrolysis needles covers selection; here the point is only that each one serves one client, once.
Other disposables in a typical room include exam gloves, table paper, cotton or gauze, single-use applicators for antiseptic and aftercare products, disposable cap covers if you use them, and face masks when appropriate. Decant products into single-use portions rather than dipping into a shared jar. A tub of aftercare cream that every client's applicator has touched is a contamination source no matter how clean the room looks.
Reprocessing reusable tweezers, step by step
Tweezers are where most of the sterilization workflow lives. A good set lasts years, and a busy practitioner needs several so that clean, sterilized sets are always waiting. The sequence below is the general one taught in electrology programs and used in clinical settings. Your state may add steps, and your autoclave manufacturer will specify loading and pouch details, so treat this as the skeleton you adapt.
- At the end of the session, place used tweezers in a designated, closed container for dirty instruments, separate from clean supplies.
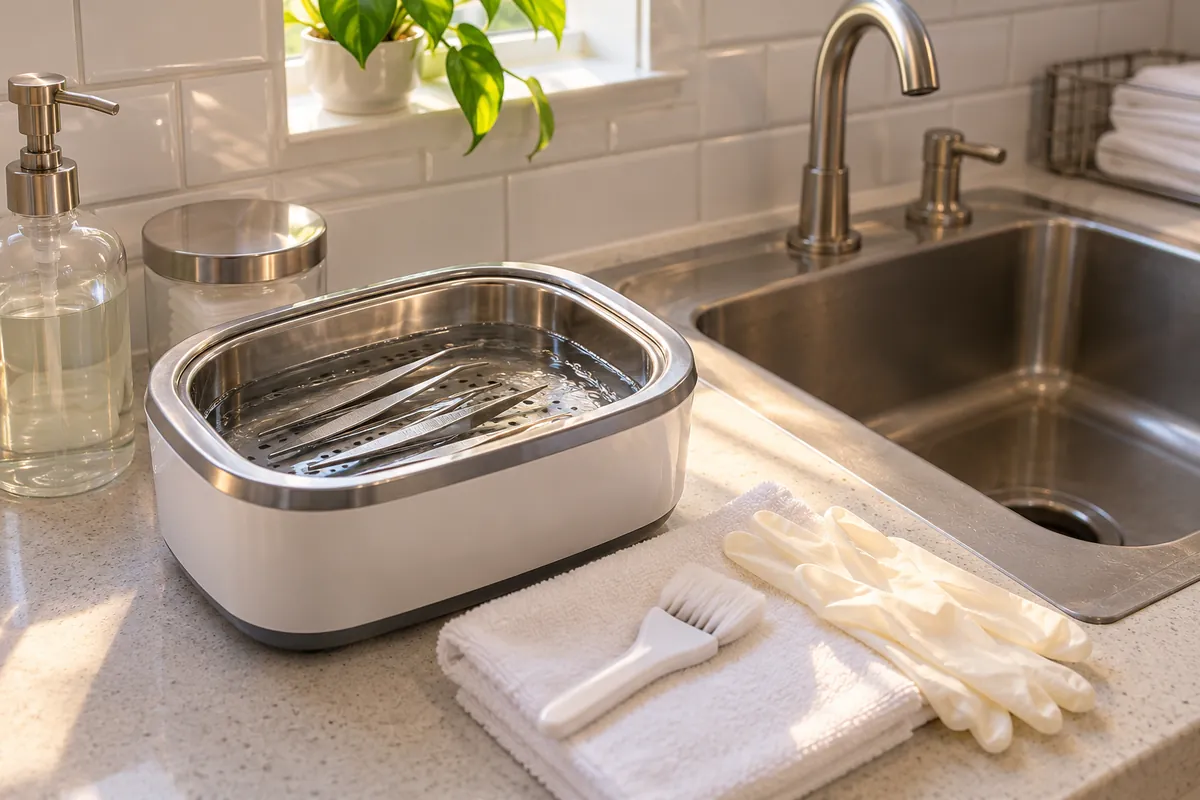
- Wearing utility gloves, pre-clean: rinse, then scrub with a brush and an instrument detergent, opening the tips so residue between them is removed. An ultrasonic cleaner with the right solution makes this more thorough.
- Rinse well and dry completely. Moisture and residue both interfere with sterilization.
- Inspect under good light and magnification. Look for remaining debris, rust, pitting, and misaligned tips. Clean again if needed; retire damaged tweezers.
- Place each set in a sterilization pouch designed for your device, with the internal chemical indicator visible. Seal it and label the pouch with the date and, if you run more than one load a day, the load number.
- Load the sterilizer according to the manufacturer instructions, without overcrowding, so steam or heat can reach every surface.
- Run the cycle the manufacturer specifies for pouched instruments, including the drying phase.
- Check the external and internal chemical indicators, confirm the pouches are dry and intact, and record the load in your log.
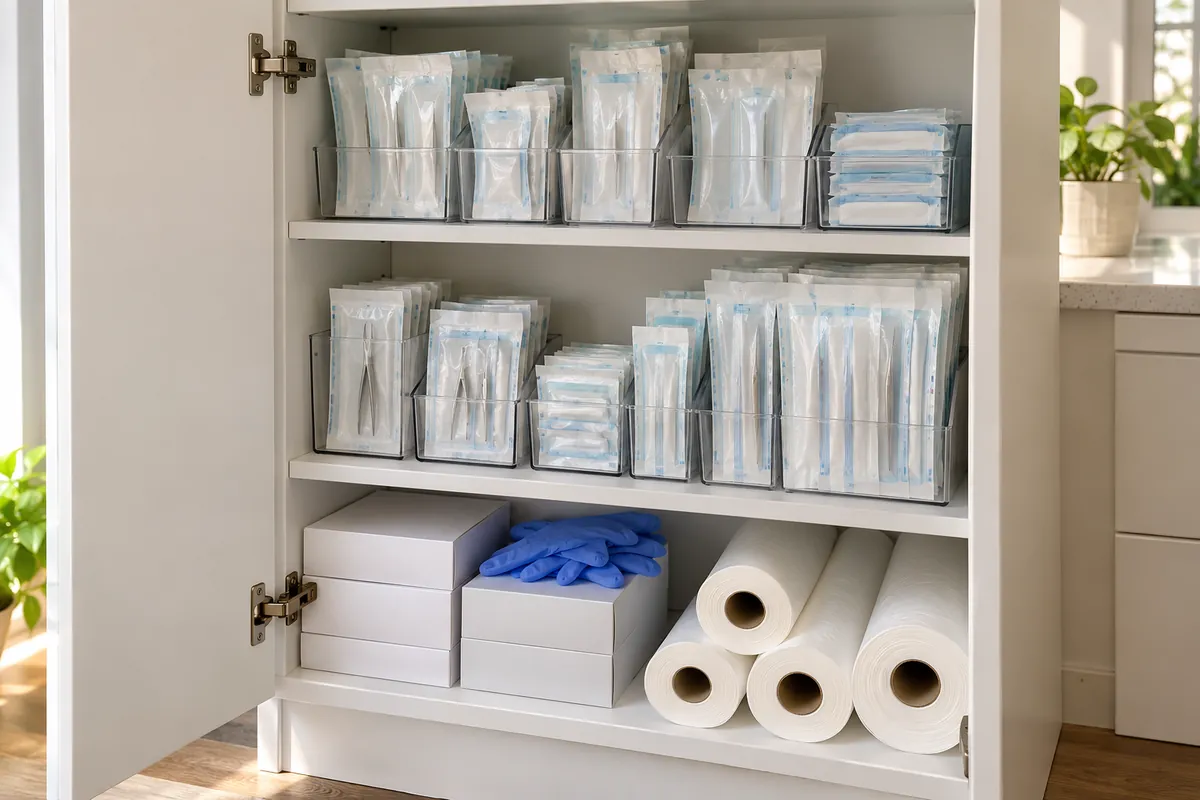
- Store pouches in a clean, dry, closed cabinet or drawer until use. Open the pouch in front of the client.
The step new practitioners rush most is drying. A wet pouch after the cycle can wick contamination through the paper, so if pouches come out damp, the cycle is not complete. Check your loading pattern and the drying phase, and consult the manual. The second most rushed step is inspection. Residue on the tips that was not removed before sterilization is a problem even if the cycle itself worked, because it can shield microbes and it can transfer to the next client.
Choosing and using an autoclave in a small electrolysis practice
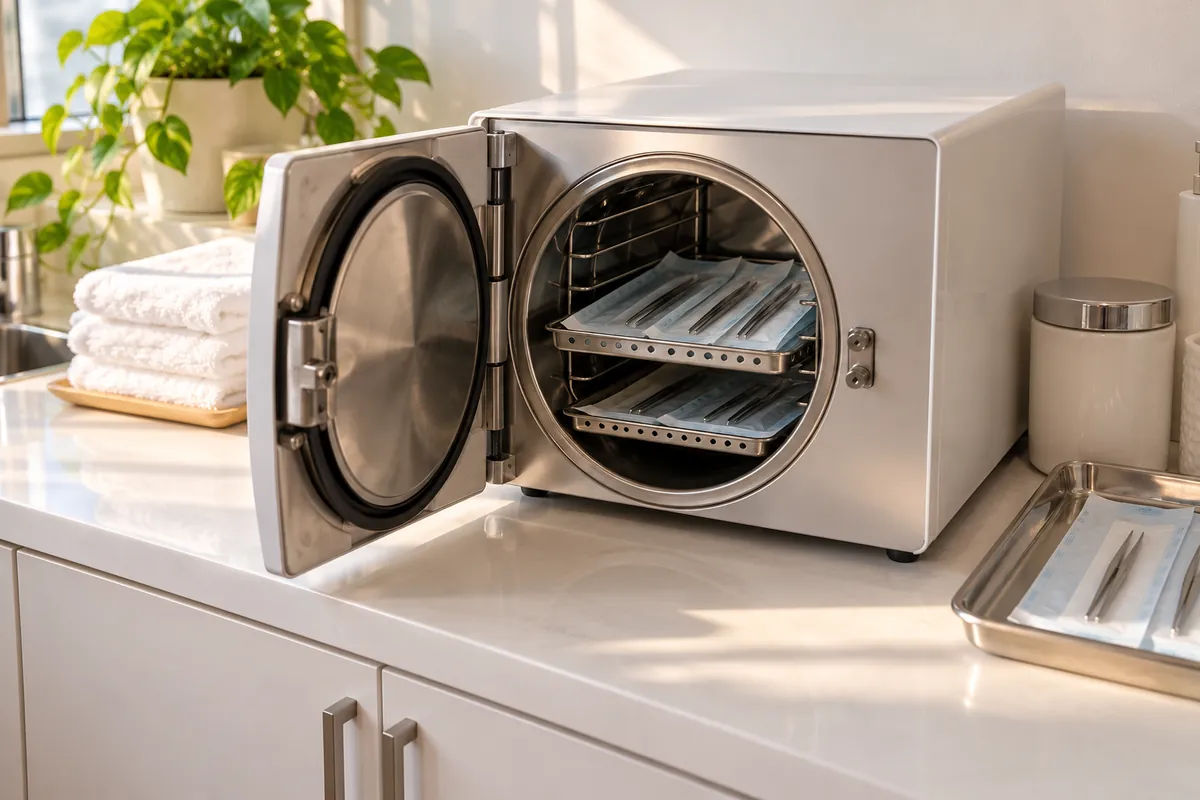
An autoclave uses pressurized steam to sterilize instruments. For a solo electrologist, a compact tabletop unit is the usual choice. When comparing devices, I look at whether the unit is cleared by the FDA as a medical sterilizer, whether it has a drying cycle suitable for pouched instruments, whether the chamber size matches the number of tweezer sets I run each day, and how easy routine maintenance is: water reservoir, door gasket, chamber cleaning, and service availability in my area.
Read the manual cover to cover before the first cycle. The manual tells you the water type to use, the correct cycle for pouched versus unwrapped instruments, the maximum load, loading orientation, and the maintenance schedule. Those instructions are what an inspector will compare your practice to, and they are what your biological monitoring validates. If you depart from them, you no longer know whether the cycle is effective. A cycle that is interrupted, aborted, or shows an error is treated as failed; those instruments are reprocessed from the start.
Some electrologists ask whether they can skip owning an autoclave by using only disposable tweezers. Single-use sterile tweezers do exist, and some practitioners use them for some or all treatments. Whether that alone satisfies your state is a question for your board, because some states require that a sterilizer be on the premises regardless. If you are still setting up, the equipment section of our guide to starting an electrolysis business places the sterilizer alongside the epilator and treatment table as an opening-day item.
Chemical indicators and spore testing in general terms
There are three ways to know a sterilizer is working, and a careful practice uses all three. Physical monitoring is watching the cycle itself: the readouts or printouts for time, temperature and pressure that the unit displays. Chemical monitoring uses indicators that change color when exposed to certain conditions; external indicators on the pouch show the pouch went through a cycle, and internal indicators inside the pouch show the conditions reached the instruments. Biological monitoring, usually called spore testing, is the only one that directly tests whether the cycle killed highly resistant microorganisms.
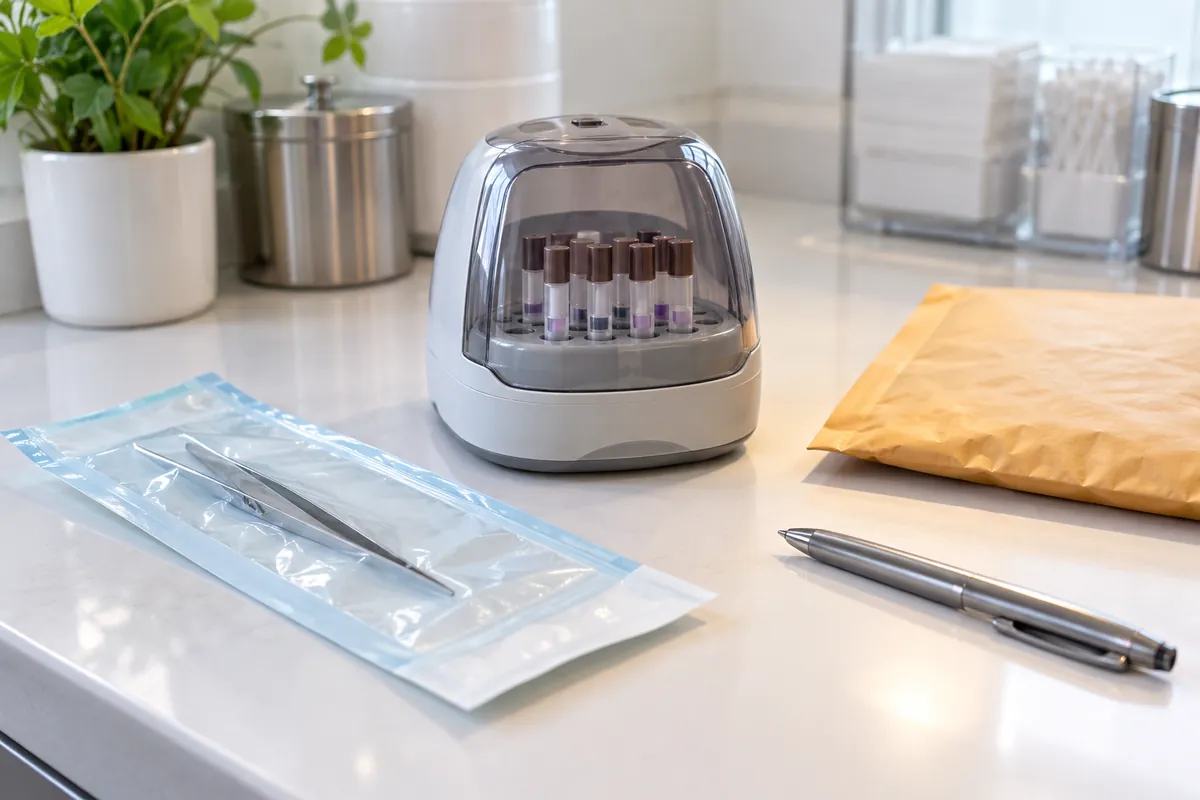
A spore test uses a strip or vial containing bacterial spores chosen because they are very hard to kill. You place it inside a pouch or test pack in the most challenging spot of a normal load, run the cycle, and then either send it to a monitoring service by mail or incubate it yourself in a small incubator, depending on the system you use. If the spores grow, the cycle failed. If they do not grow, the sterilizer achieved sterilization under those conditions. A control strip that did not go through the cycle is used to confirm the spores were alive to begin with.
How often you test is set by your state rules and the sterilizer manufacturer, and many clinical infection control guidelines also call for a test after repairs, after moving the unit, and when you change pouch types or loading patterns. I will not give a frequency here, because it is exactly the kind of number that differs by state and changes over time. Check your state electrology rules and write the schedule into your procedures manual so it is not a matter of memory.
- Physical: confirms the machine reported the right cycle conditions.
- Chemical, external: confirms this pouch was processed.
- Chemical, internal: confirms conditions reached inside the pouch.
- Biological (spore test): confirms the cycle actually killed resistant organisms.
- Log entry: proves all of the above happened, on which date, for which load.
A positive spore test is uncomfortable news, but a plan makes it manageable. The general response used in clinical settings is to take the sterilizer out of service, review what happened on that cycle (loading, pouch type, cycle selection, any error messages, maintenance status), and retest. If a repeat test also fails, the unit needs service before it is used again. Instruments processed since the last negative test are reprocessed, and many protocols call for reviewing those records to see which clients' sessions used instruments from the affected loads.
Very often a failed test traces back to operator error: an overloaded chamber, pouches stacked flat on top of each other, the wrong cycle, or a test strip placed somewhere unusual. That is good news, because it is fixable today. It is also why backup tweezer sets matter. If your only sterilizer is down, single-use sterile tweezers can keep the schedule running while the unit is checked. Write your failed-test response into your procedures manual, and if your state board requires notification or specific steps, add those too.
Designing a one-way clean to dirty workflow
Infection control works best when instruments only ever move in one direction: from the dirty container, to the cleaning area, to the sterilizer, to clean storage, to the treatment cart, and back to the dirty container after use. When those zones overlap, contamination travels backward. In a small studio you may not have a separate reprocessing room, but you can still separate zones by distance, by surface, and by time. The sink where tweezers are scrubbed should not be the place where clean pouches are set down to cool.
I mark the zones physically. The dirty container lives on one side of the counter, the ultrasonic cleaner and drying rack next to it, the autoclave beyond that, and the closed cabinet for sterile pouches on the far side, away from splash. Nothing from the clean side is ever placed on the dirty side, even briefly. If space is very tight, run reprocessing after the last client of the day so the counter is never used for both jobs at the same time. Draw the flow on paper once; you will usually find one spot where the two directions cross, and that is where to change the layout.
The same thinking applies to the treatment cart. Keep the sterile field small: an opened pouch, the probe holder, a fresh probe, and the antiseptic applicator. Supplies you might need later stay closed in a drawer until you need them, and you open them with clean hands. A cart covered with open packages and loose cotton is hard to keep clean and hard to disinfect afterward.
The probe holder, sometimes called the needle holder, is handled throughout the session and sits close to the treatment field, but it does not enter the skin. Most manufacturers give specific instructions for cleaning and disinfecting the holder and its cap, and some caps are designed to be replaced or sterilized. Follow those instructions exactly, because harsh chemicals can damage the insulation and the electrical contact. A cracked holder or a frayed cord is both an infection control problem and an electrical safety problem, so inspect them regularly and replace parts as the manufacturer advises.
The epilator itself, the foot pedal, the magnifier and the lamp are all noncritical surfaces that need routine disinfection with a product compatible with their materials. Ask the equipment maker which disinfectants are safe for screens, lenses and plastic housings. Keep the manuals for every device in one folder with your procedures manual, and record significant service in your maintenance log. When choosing new equipment, ease of cleaning is a fair selection criterion, which our guide on how to choose an electrolysis machine touches on as well.
Hand hygiene, gloves and personal protection
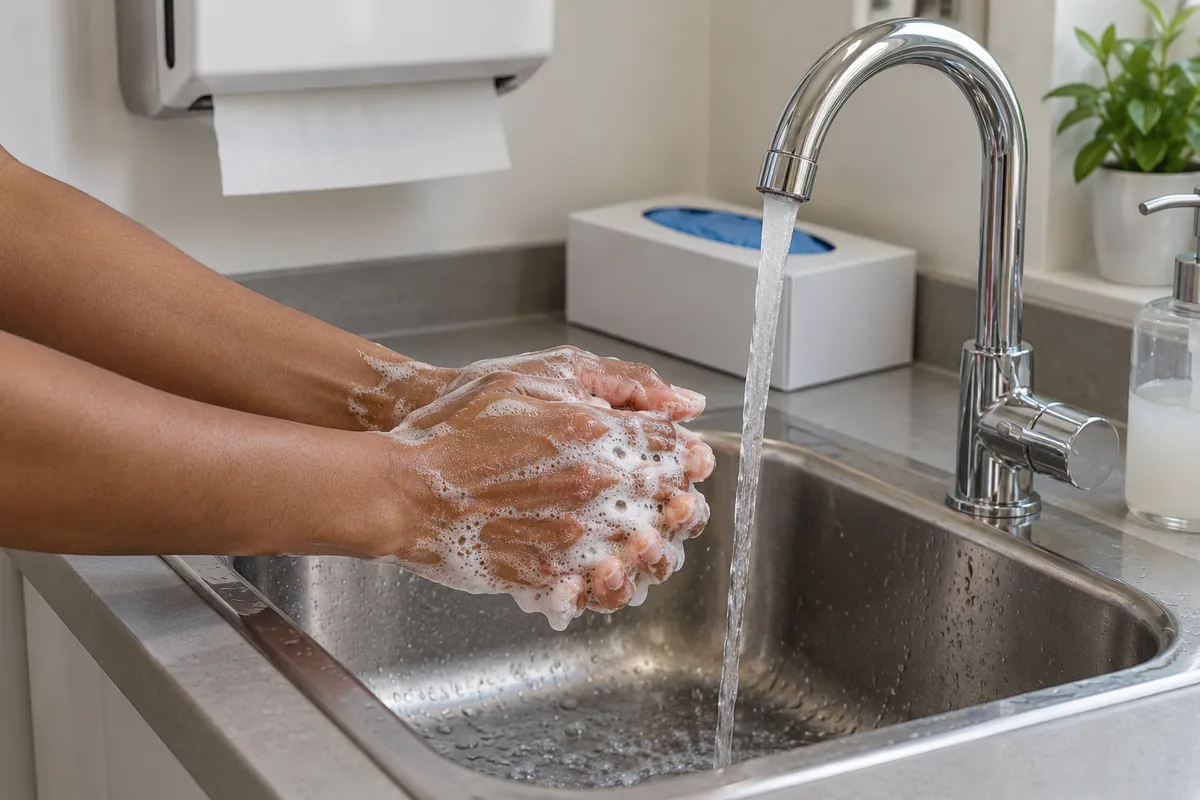
Hand hygiene is the oldest infection control tool and still one of the most effective. Wash or use an alcohol-based hand rub before gloving, after removing gloves, and whenever hands are visibly soiled. Keep nails short and free of artificial extensions, which hold microbes and tear gloves. Gloves are single use: a fresh pair for each client, and a fresh pair if you leave the treatment to answer the door, write in a chart, or adjust the lamp with a hand that has not been covered by a barrier.
Think through where your gloved hands go during a session. A common lapse is touching the machine dial, the lamp arm, or a pen with the same gloves that touched the client's skin, then touching the next client's face an hour later with clean gloves on a dirty dial. Barrier film on frequently touched controls, a foot pedal, and the habit of removing gloves before touching anything outside the treatment field all reduce that risk. Eye protection and a mask are reasonable when there is a chance of splash or when you or the client have a respiratory illness.
Surface disinfection, room turnover and sharps waste
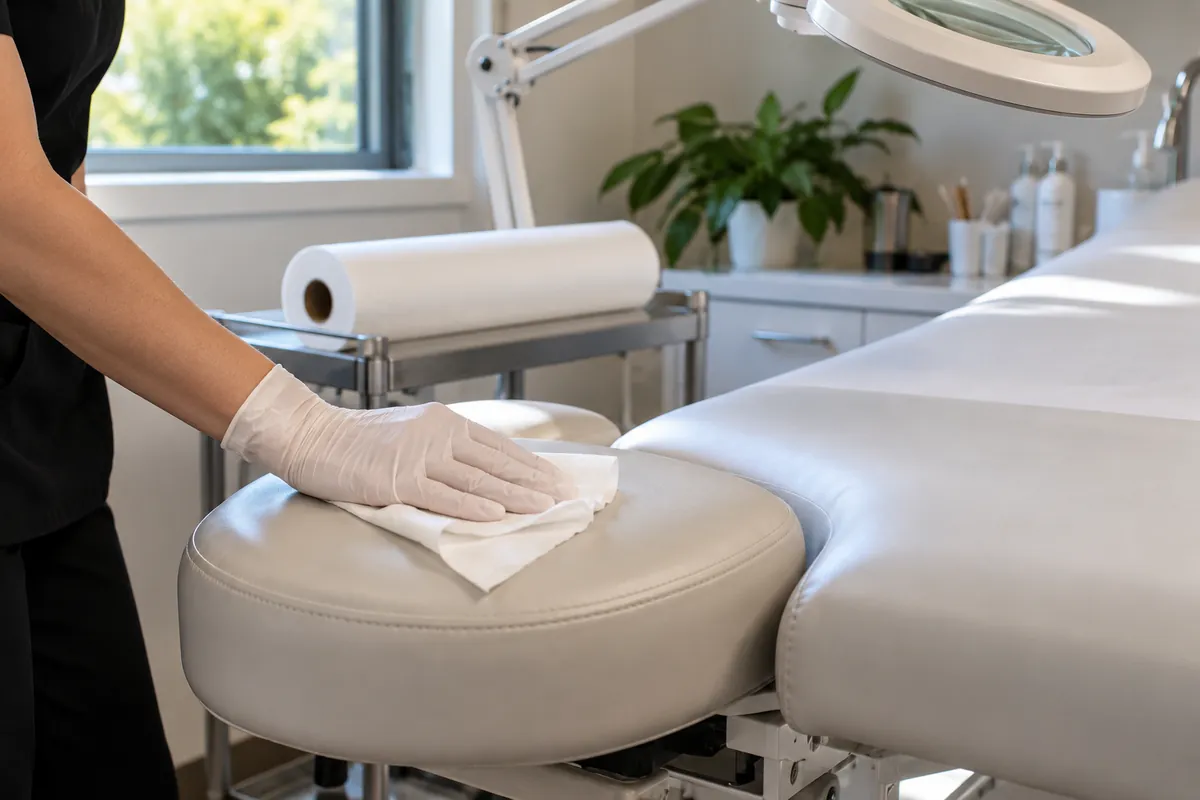
Room turnover is a routine I want to be identical every time, because routines survive busy days and good intentions do not. After the client leaves, I put on fresh gloves, remove the table paper and any linens, discard disposables, drop any used probe in sharps if that has not happened already, move used tweezers into the dirty instrument container, and then clean and disinfect the table, headrest, cart top, lamp arm and lens surround, machine controls and cord, probe holder per its instructions, chair, and any surface the client touched.
Use a disinfectant registered for the purpose and labeled for the organisms relevant to your setting, and read its directions. Some products are meant for hard nonporous surfaces only, some will cloud or crack magnifier lenses, and some need longer contact times than you might expect. If a surface cannot stay wet for the contact time with one wipe, wipe it again. Allow everything to dry before the next client lies down. Then fresh paper, fresh linens, fresh gloves, and only then the next client is brought in.
Design your room to make this easy. Fewer surfaces mean fewer things to disinfect. Closed storage keeps clean supplies away from aerosol and splash. A treatment table with a wipeable surface, a cart with smooth tops, and a lamp you can disinfect without damage all save minutes per client. Our home electrolysis studio legal checklist covers how room layout and separation from living areas are viewed by boards when the practice is in a home.
Used probes are sharps and go into a puncture-resistant, leak-resistant, closable sharps container that is within reach of the treatment field. Do not overfill it; close and replace it when it reaches the fill line marked by the manufacturer. Never push down on contents to make room. Mount or place the container so you can drop a probe in without changing hands or reaching across the client.
Disposal of full sharps containers and of items saturated with blood is regulated, and the rules come from your state and sometimes your county or city. Options include licensed medical waste haulers and mail-back programs. Keep proof of disposal, such as manifests or receipts, with your infection control records. Gauze or cotton with only a trace of blood is handled differently in many places from items that are saturated, so read the local definition rather than guessing. When in doubt, ask your local health department.
Sterilization logs, records and exposure incidents
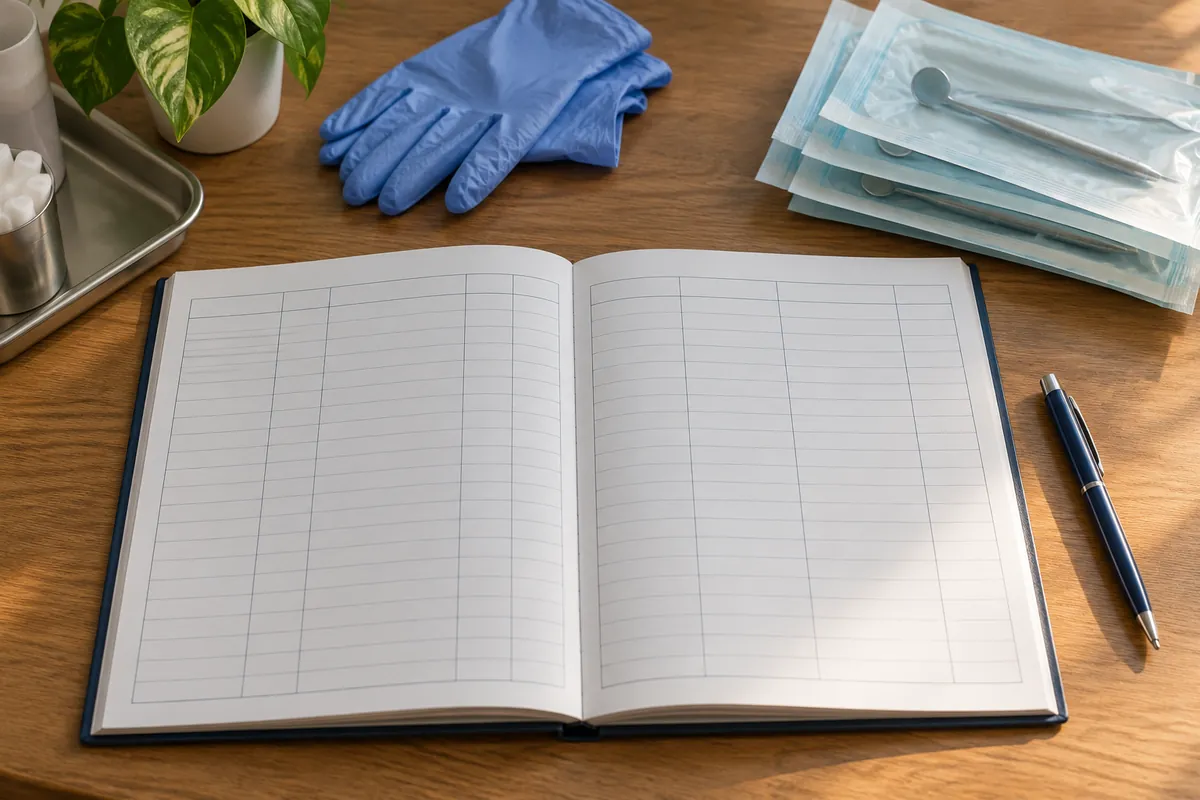
A log is how you prove to an inspector, an insurer, and yourself that each step happened. Paper or digital both work if the record is consistent, dated, and kept for the period your state requires. I keep a sterilization log that records each cycle, a spore test log, a maintenance log for the autoclave, and a sharps disposal file. The treatment record for each client can also note that a new sterile probe and sterilized tweezers were used, which ties the room records to the individual session.
- Cycle log: date, load number, cycle type, contents, chemical indicator result, operator initials, any errors.
- Spore test log: date placed, load tested, date sent or incubated, result, and action taken if positive.
- Maintenance log: cleaning, gasket and filter checks, service visits, repairs.
- Waste log: sharps container changes, pickups or mail-backs, manifests.
- Training log: bloodborne pathogen training or refreshers, and dates.
The value of logs is not only in an inspection. If a client calls a week later about a bump that looks infected, your records let you answer calmly: which tweezers set, which load, which spore test covered that week. That conversation is very different from "I am sure everything was clean." Records also tie into consent and client documentation, which we cover in the guide to electrolysis consent forms and client records.
Every practice needs a short written plan for what happens after a needlestick or a splash of blood into the eyes or mouth. In general terms: wash the area with soap and water or flush mucous membranes with water, report and document the incident, and get prompt medical evaluation, because some preventive treatments are time sensitive. A physician or occupational health service decides on testing and follow-up. Hepatitis B vaccination is widely recommended for workers with occupational blood exposure; discuss it with your own healthcare provider.
If you employ anyone, workplace safety rules on bloodborne pathogens apply to you as an employer, including training and an exposure control plan. Solo practitioners are often not covered in the same way, but the plan is still worth having. Keep the phone number of your nearest urgent care or occupational clinic on the plan sheet, and know in advance where you would go.
Talking with clients about sterilization
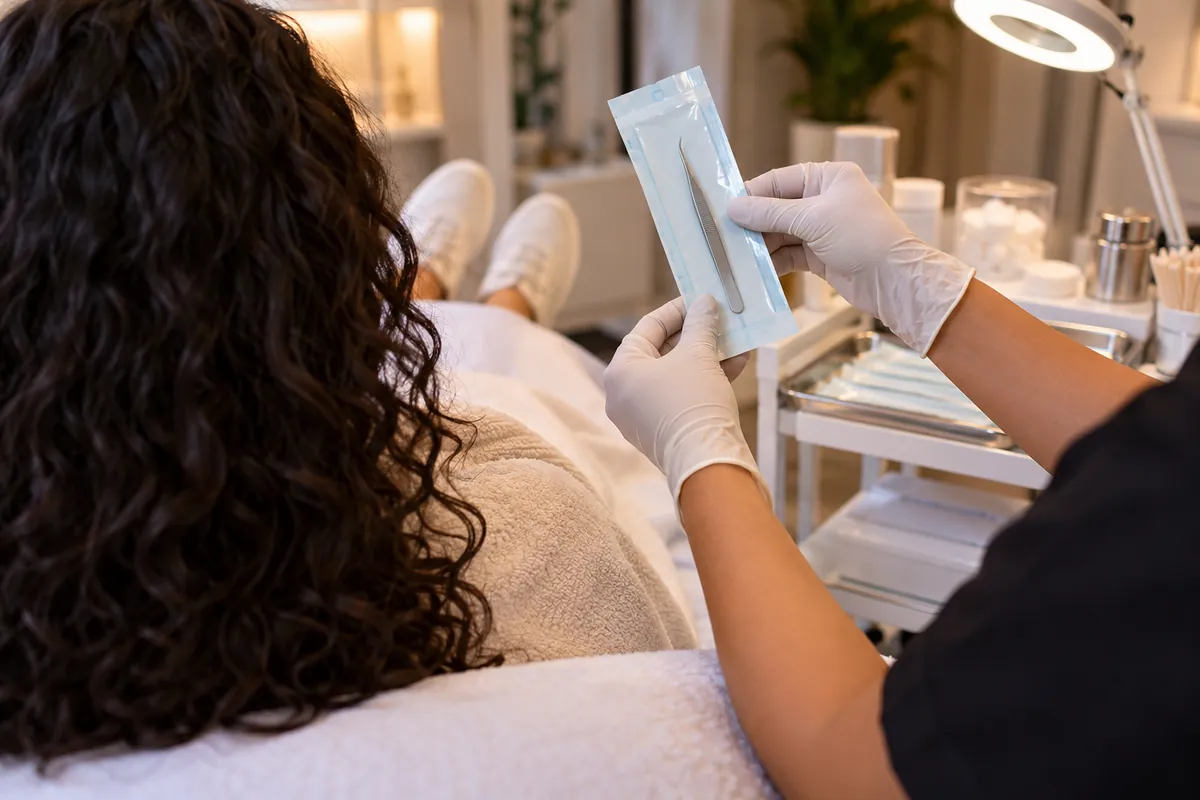
Clients are right to ask about hygiene, and the best practitioners welcome the question. I open the probe package where the client can see it, open the tweezer pouch in front of them, and explain in one sentence what the color change on the indicator means. Some clients want more: they ask whether the probes are reused, whether you autoclave, and how you know it works. A short, honest answer that mentions single-use probes, autoclaved instruments and regular spore testing builds more trust than any marketing line.
Avoid overstated claims. "Hospital-grade" or "100 percent sterile room" are phrases clients sometimes see in ads, and they are not accurate descriptions of what a room is. Instruments can be sterile; a room is clean and disinfected. If a prospective client is choosing between practitioners, the sterilization questions we suggest in how to prepare for your first electrolysis session are the same ones you should be ready to answer with confidence.
Common sterilization mistakes I see in new practices
The mistakes are rarely dramatic. They are small shortcuts that become habits. Putting tweezers in the autoclave without pre-cleaning because "the steam will take care of it." Overloading the chamber on a busy Friday. Storing sterilized pouches in an open basket near the sink where splashes land. Using a disinfectant spray and wiping it off immediately. Running out of spore test strips and meaning to order more. Keeping a perfect log for the first month and then letting it slide.
- Skipping pre-cleaning or ultrasonic cleaning before sterilization.
- Overcrowding the chamber or stacking pouches flat.
- Using a cycle not meant for pouched instruments.
- Opening pouches early and leaving tweezers on an open tray.
- Ignoring disinfectant contact times.
- Letting sharps containers overfill.
- No backup sterile tweezers when the autoclave needs service.
- Logs that stop after the first inspection.
Most of these are fixed by systems rather than willpower: enough tweezer sets, a fixed sterilization time, reorder reminders for test strips and pouches, a laminated turnover checklist on the cabinet door, and a monthly self-audit where you read your own logs as if you were the inspector. Infection control is also a large part of formal electrology training and of the exams that lead to licensure, which is why it features heavily in the electrology state board exam preparation.
Where to learn infection control properly
Infection control in electrolysis is taught in depth in electrology programs, and it is tested by state boards. Online theory can help you understand the reasoning behind each step: microbiology basics, the difference between disinfectants and sterilants, how biological monitoring works. Our electrolysis course covers that theory. It does not replace the hands-on training hours and supervised practice your state requires, and it does not replace a license. The practical skill of pouching, loading, reading indicators and turning over a room is learned by doing it under supervision.
If you are already licensed, treat sterilization as a skill you refresh rather than something you learned once. Read your autoclave manual again each year, review your state sanitation rules when they are updated, and look for continuing education topics on infection control. Our guide to electrolysis continuing education explains how to choose courses that are worth your time. Your next practical step is simple: compare your current room routine with your state's written rules on the electrolysis licensing page and close any gap this week.
State Requirements
State licensing guides
Hours, exams, fees, and the licensing board differ by state. Open your state for the current requirements.
Looking for a practitioner or a program near you? Browse electrologists by state and city or beauty schools by state.
Common Questions
FAQ
The professional standard is a presterilized, single-use disposable probe that is opened at the start of the session and discarded in a sharps container afterward. Probes are very fine and difficult to clean reliably, and reuse adds risk without real benefit. Many states require disposable probes outright. Check your state rules on our electrolysis licensing hub, and if a practitioner cannot tell you that every probe is new, choose another practitioner.
It depends on your state. Some boards require a sterilizer on the premises regardless of what you use, while others focus on whether every critical item is sterile at the time of use. Even when it is not required, many electrologists keep an autoclave so reusable tweezers can be processed and so they are not dependent on supply of disposables. Ask your state board directly and keep their answer in writing.
A spore test, or biological indicator, contains bacterial spores that are very hard to kill. It goes through a normal sterilizer cycle and is then incubated. If nothing grows, the cycle sterilized successfully. It is the only routine check that directly shows the cycle killed resistant organisms, while chemical indicators only show certain conditions were reached. Frequency is set by your state rules and the sterilizer manufacturer.
Look at it before opening. The seal should be intact, the paper dry, clean and untorn, and the chemical indicator should show the correct color change. Pouches stored in a closed, dry cabinet and handled as little as possible stay sterile until something compromises the package. A pouch that was dropped on a wet surface, crushed, or opened even briefly should be reprocessed.
UV cabinets are generally used for storage, not sterilization, and glass bead units are not accepted as a sterilization method in many clinical settings. For instruments that touch broken skin, use a sterilizer designed and cleared for that purpose and follow its manufacturer instructions. Your state sanitation rules may list acceptable methods specifically, so read them before you buy equipment.
The retention period is set by your state and sometimes by your insurer, so there is no single answer. Keep cycle logs, spore test results, maintenance records and sharps disposal receipts together, in a format you can show an inspector on request. Many practitioners keep them alongside client treatment records, and our guide to insurance for electrologists explains why documentation matters if a claim is ever made.
Wash the site with soap and water right away, document what happened and whose session it was, and seek prompt medical evaluation from a physician or occupational health clinic, because some preventive treatment is time sensitive. Do not wait to see whether symptoms appear. Have this plan written down before it happens, including the nearest clinic, and discuss hepatitis B vaccination with your own healthcare provider.
Yes, if your sterilizer cycle, including drying and cooling, fits between appointments and you have enough sets. In practice most electrologists keep several tweezer sets so that one always waits in a sealed pouch while others are being reprocessed. Never shorten the cycle or open a pouch while it is still damp to save time. If the schedule is tight, single-use sterile tweezers can act as a backup.
Keep Reading
Related Guides


